Dubbo

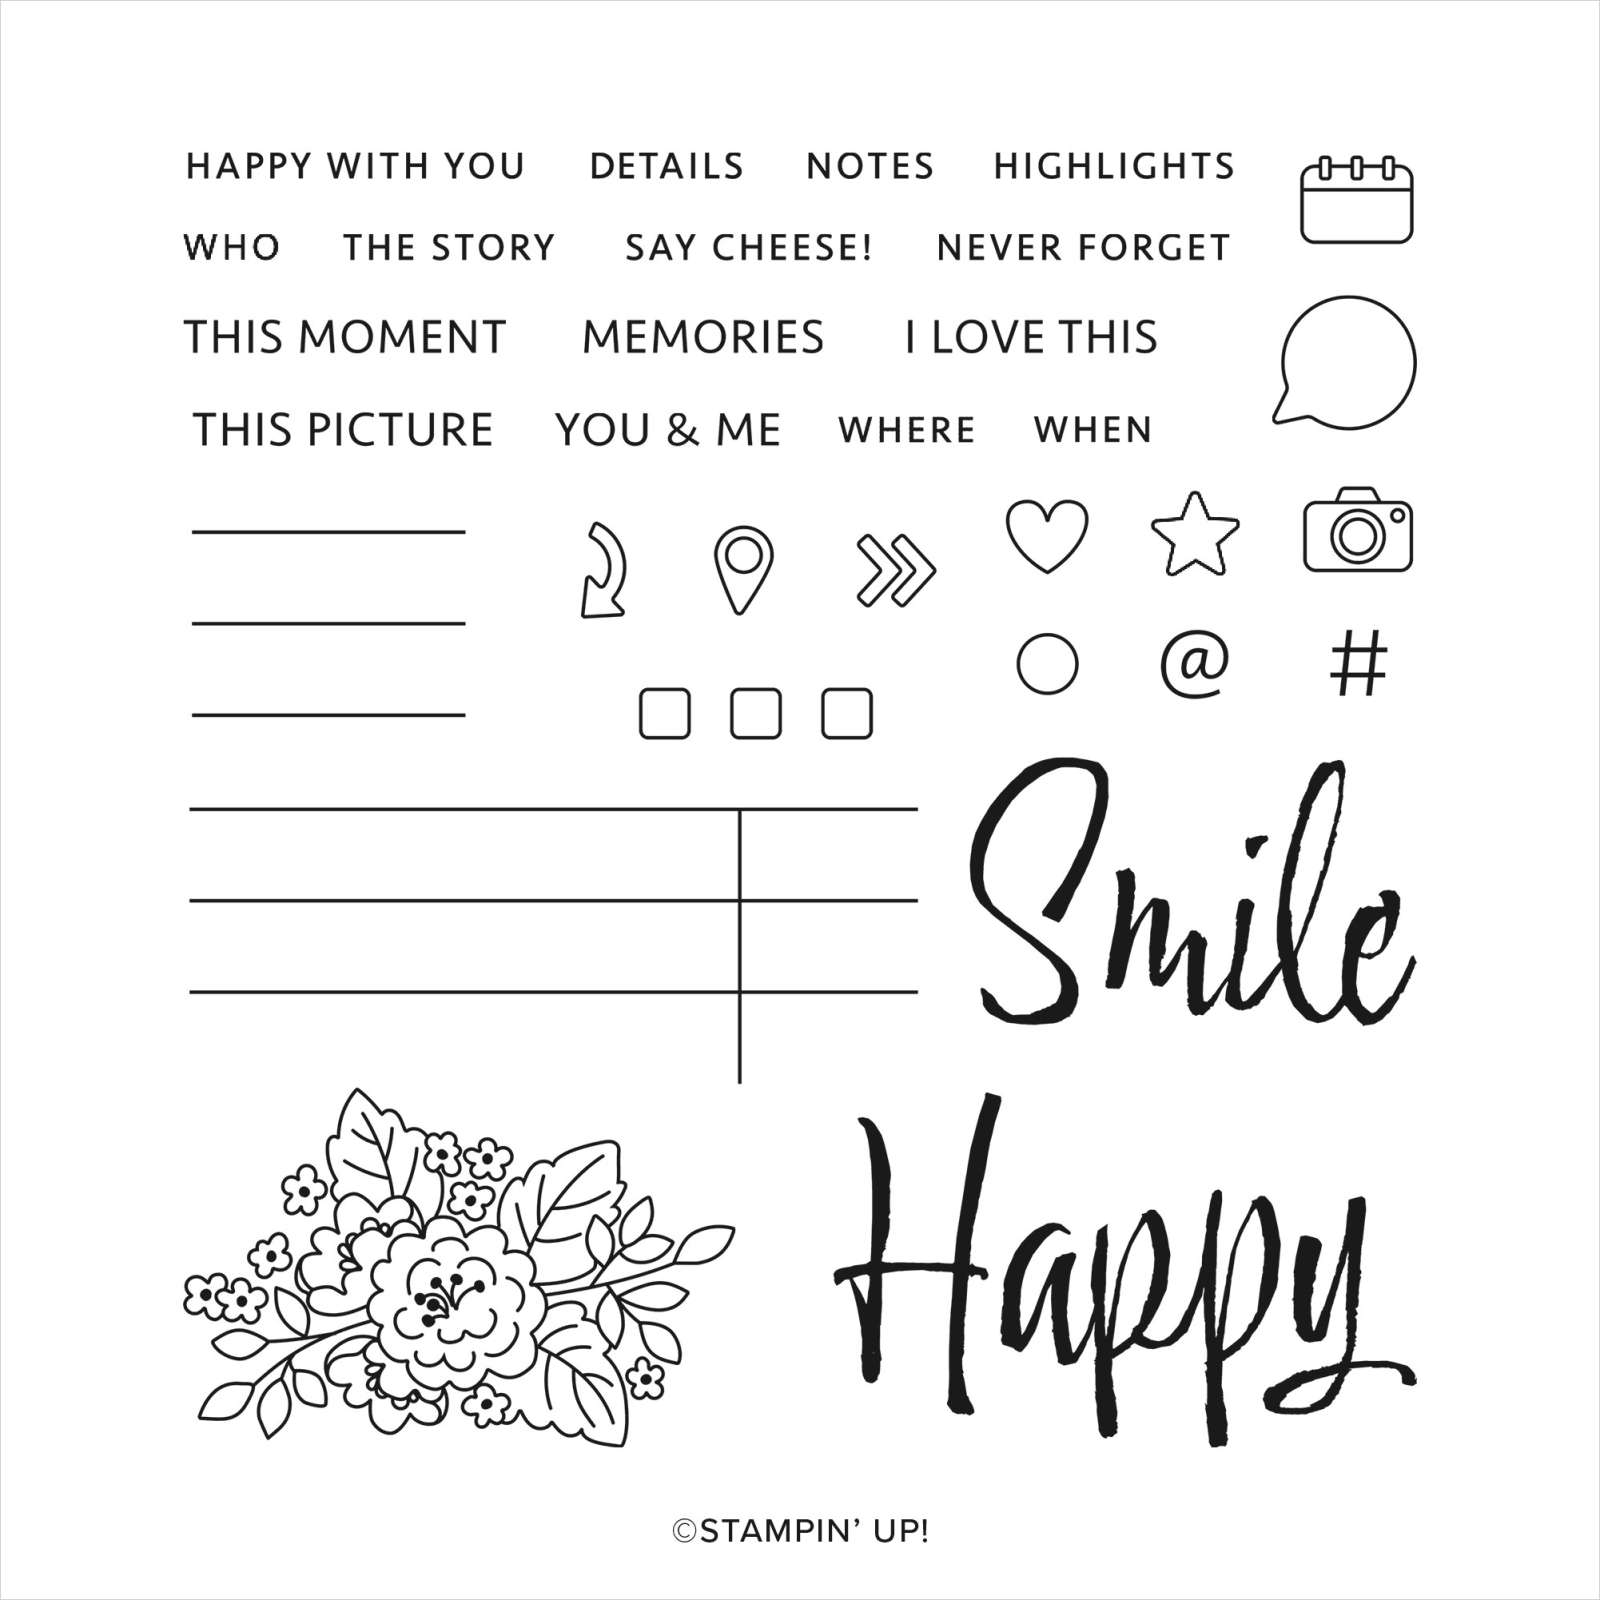
My page today celebrates a visit to Dubbo. Ron and I lived there for nearly five years and both out girls were born there. Ron’s Aunty Norma was a great help to us, babysitting and generally being someone to visit and talk with, so we never miss an opportunity to catch up when were are heading in that direction. To begin my page I used the floral image from the Love This Moment stamp set and Versamark ink to stamp along the top and the bottom of a piece of Crumb Cake 12″ x 12″ card. I trimmed down the panel and attached it to Basic White card. I added a piece of Azure Afternoon card across the page before attaching my photos. I stamped the line image from the Love This Moment stamp set onto Basic White card using Memento Tuxedo Black ink to create somewhere to add my journaling. I also stamped “the story” from the Love This Moment stamp set onto the top of this panel using Memento Tuxedo Black ink.

I stamped “memories” and the heart from the Love This Moment stamp set onto a narrow strip of Crumb Cake card before attaching it across the bottom of the main photo. I stamped the floral image onto Basic White card using Memento Tuxedo Black ink and coloured the image using Poppy Parade, Lemon Lime Twist and Dark Daffodil Delight Stampin’ Blends. I fussy cut the floral image and attached it below my journaling. The title is stamped onto the page using letters from the Classic Letters stamp set and Memento Tuxedo Black ink. I watched a video recently where Sara (CEO of Stampin’ Up!) used this stamp set and she gave me the idea of stamping the floral image as a border using Versamark ink. So thank you Sara. This page makes me smile and brings lots of memories to mind. I’d love to know what you think.
Bye for now,
Kris
Product Used:


Leafy Thinking of You

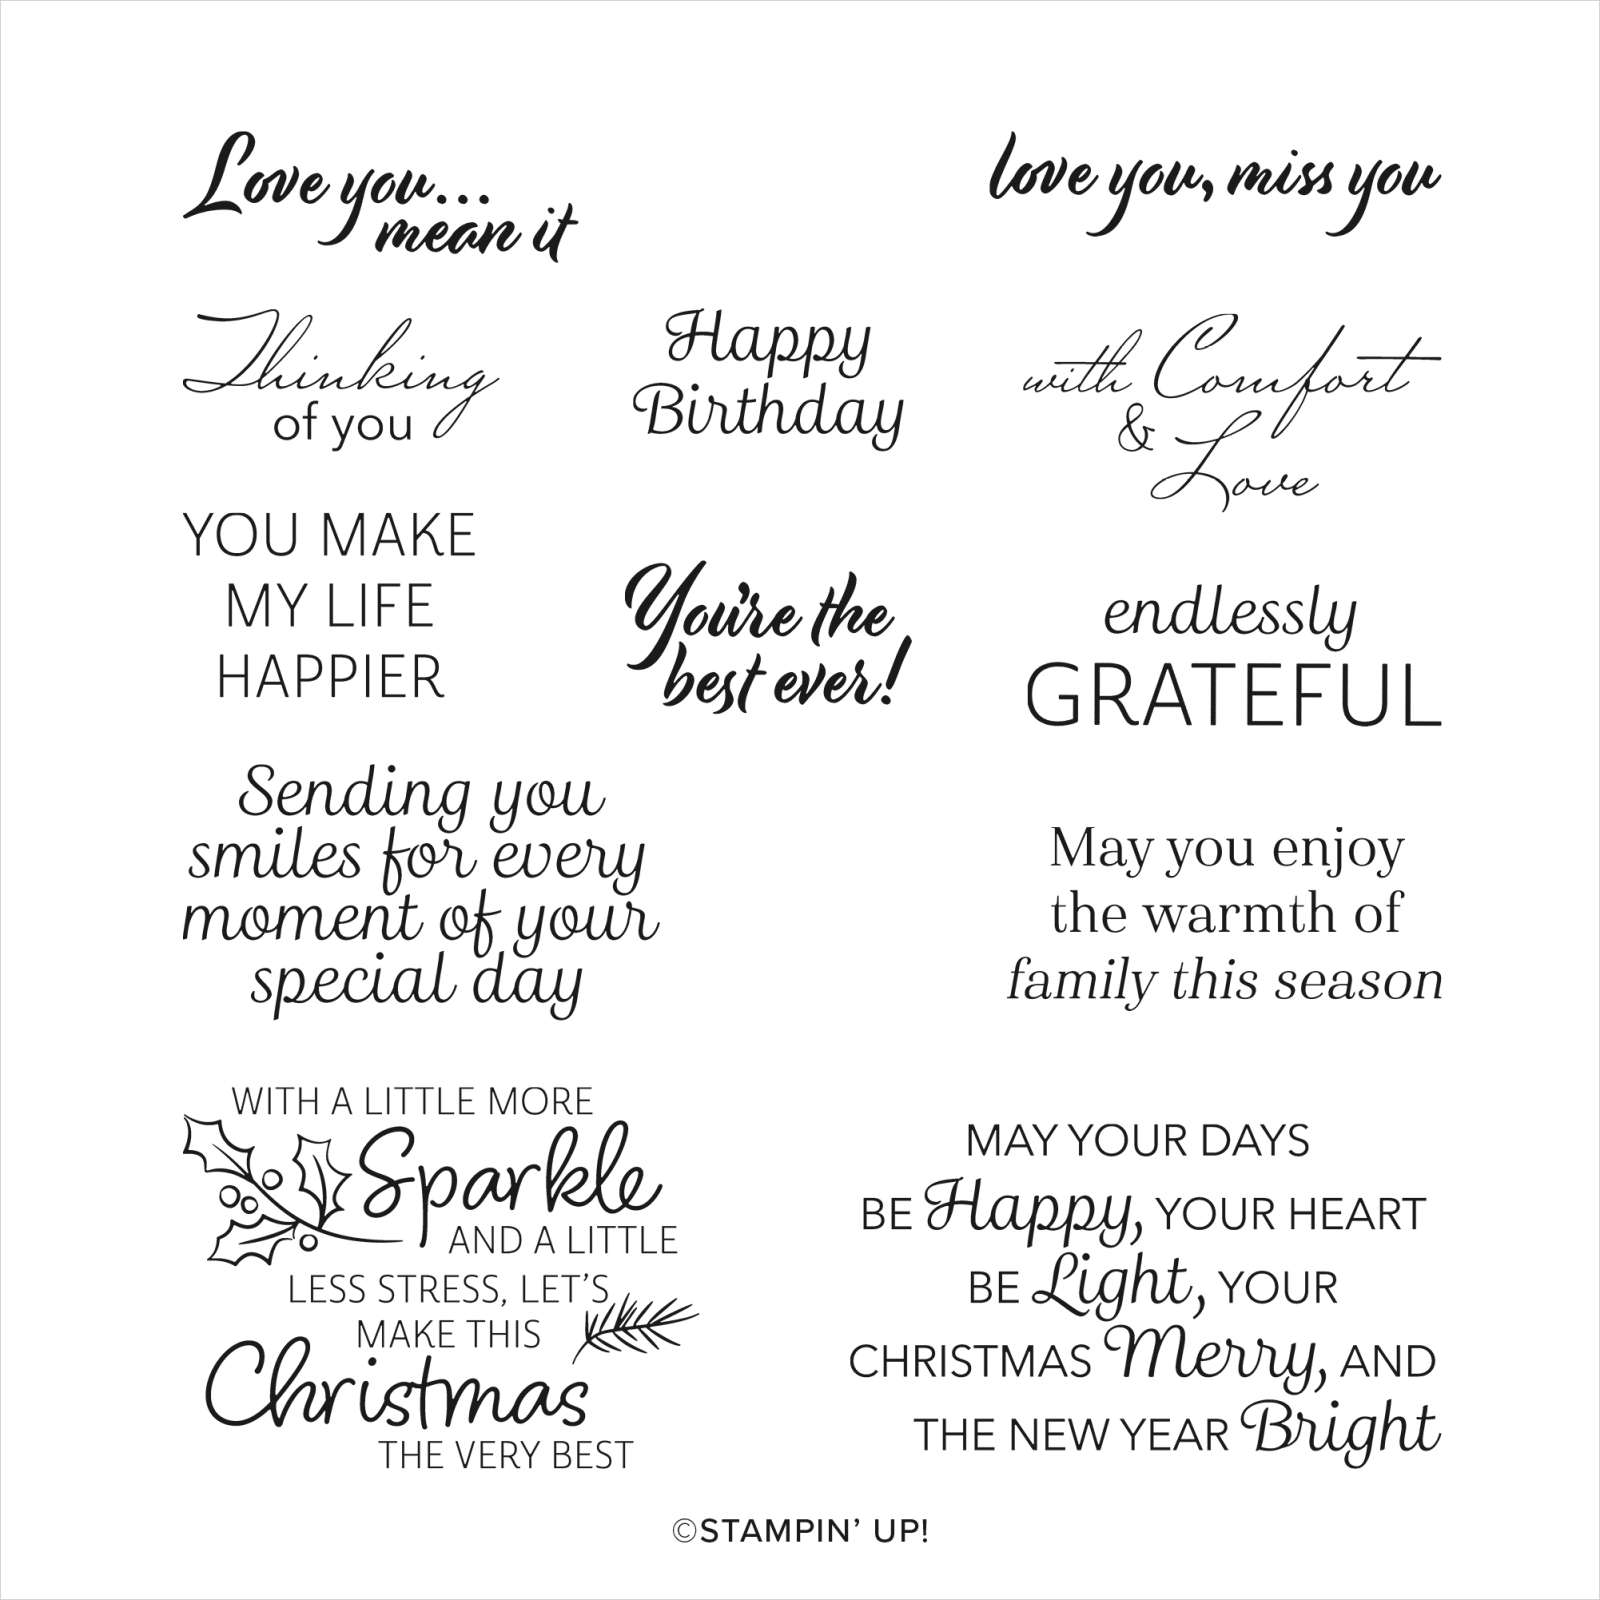
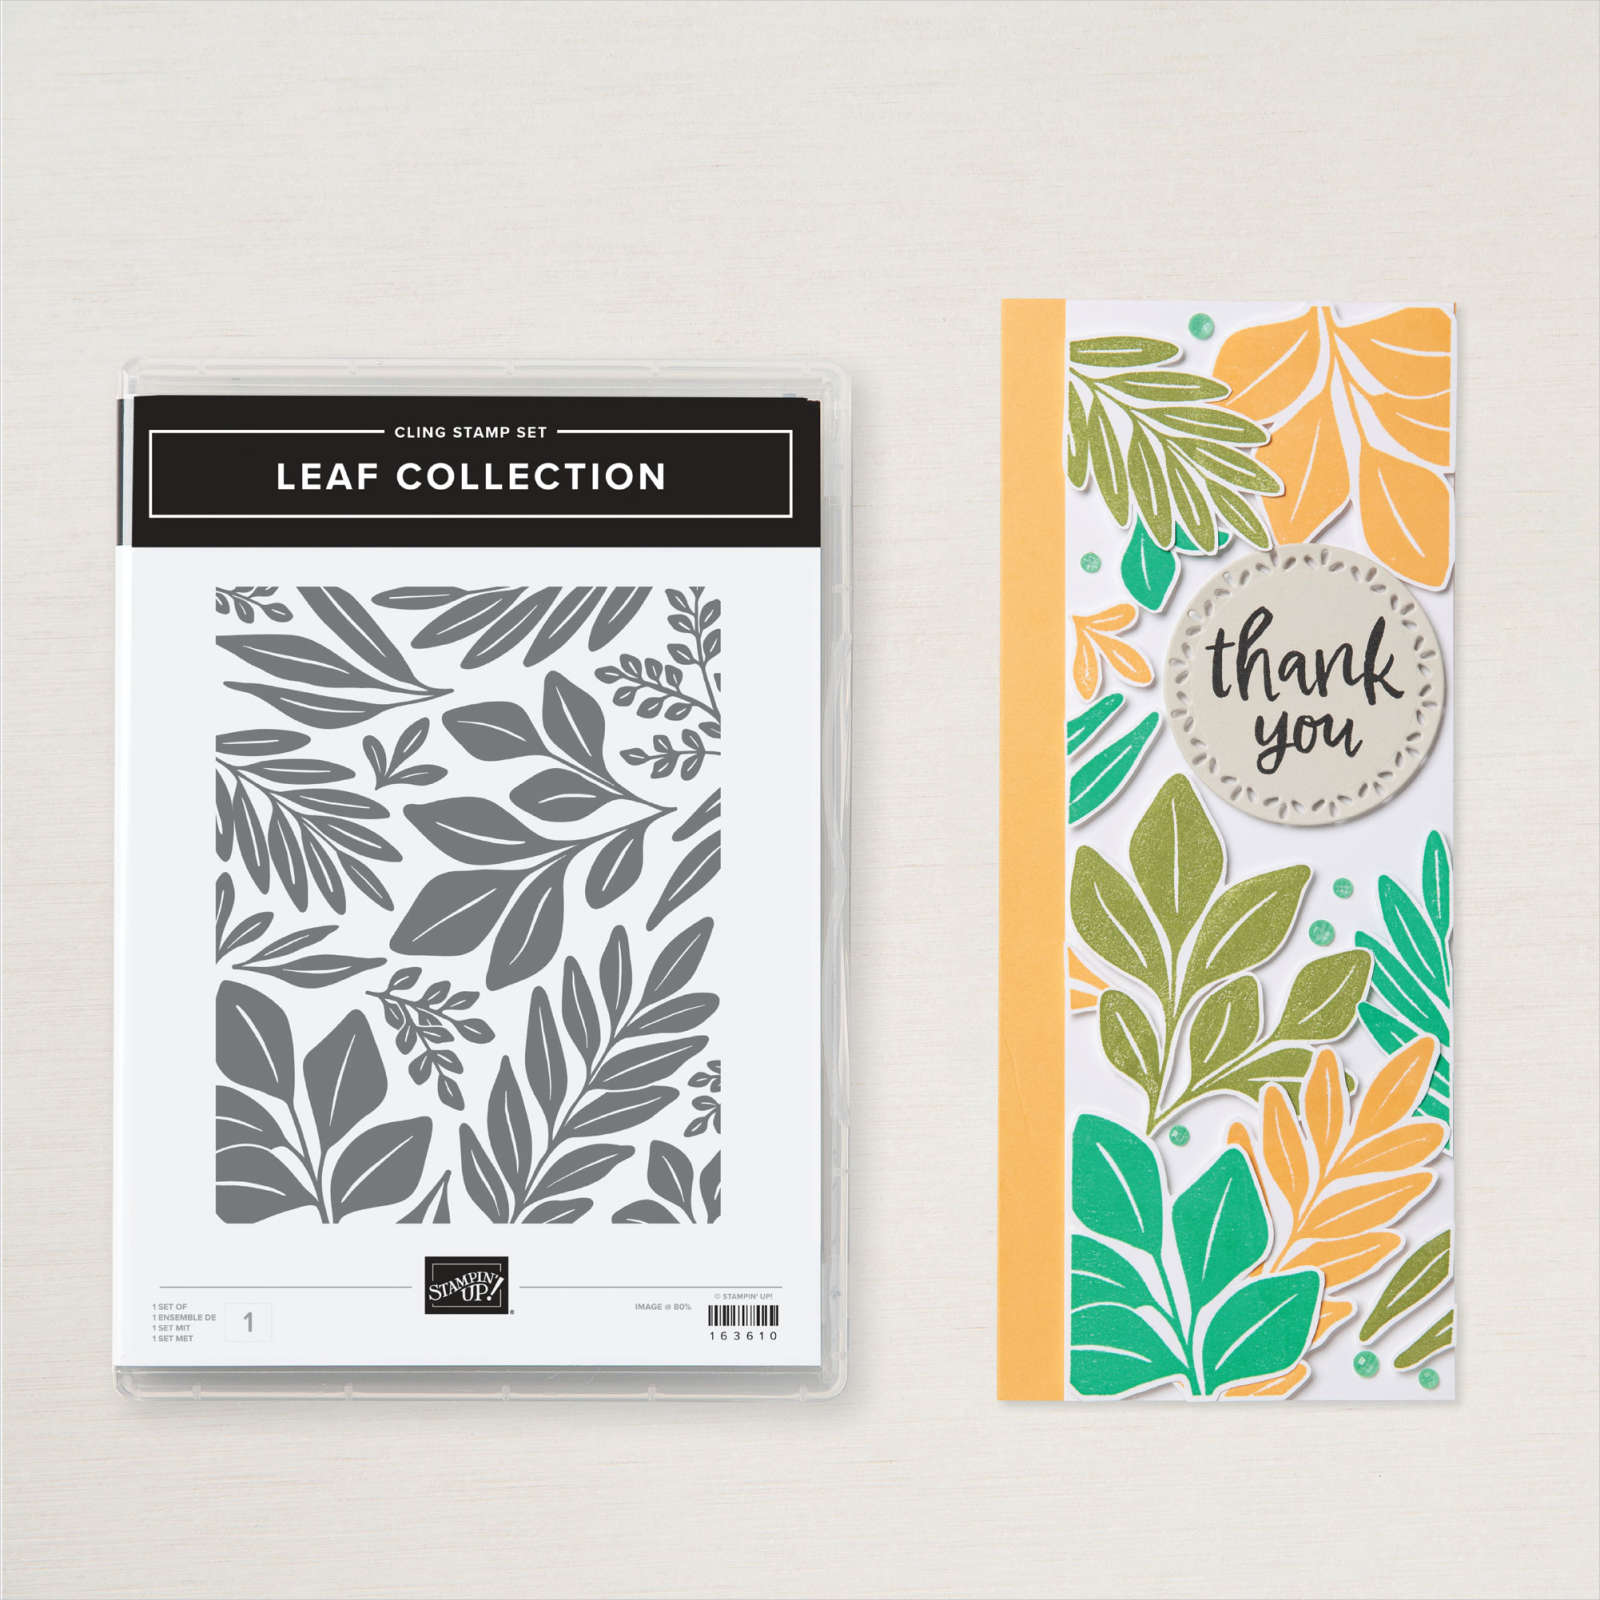
Today I am using the absolutely fabulous Leaf Collection stamp set. This is a large stamp that covers the whole of your card front. It has beautiful leaf images which not only stamp well as one image but you can fussy cut the individual leaves to create your own design. I chose to stamp the full Leaf Collection image onto Basic White card using Summer Splash ink. Isn’t this new in-colour simply gorgeous? I attached the stamped panel to Summer Splash card and then scored and folded Thick Basic White card.

I stamped the greeting from the Simply Said stamp set onto Basic White card using Summer Splash ink. The greeting is cut out using one of the Countryside Corners Dies.I attached a length of Summer Splash 3/8″ (1cm) Bordered Ribbon to the back of the

greeting before attaching it to the card front using dimensionals. To decorate the inside of the card I stamped a greeting from the So Sincere stamp set onto Basic White card using Summer Splash ink. I stamped the Leaf Collection stamp onto scrap Basic White card and cut out one of the leaves which I attached next to the greeting. The stamped panel is attached to Summer Splash card and then the inside of the Thick Basic White card base. I would love to know what you think of this card.
Bye for now,
Kris
Product Used:
You can view the Simply Said stamp set here in my online store.


Celebrate

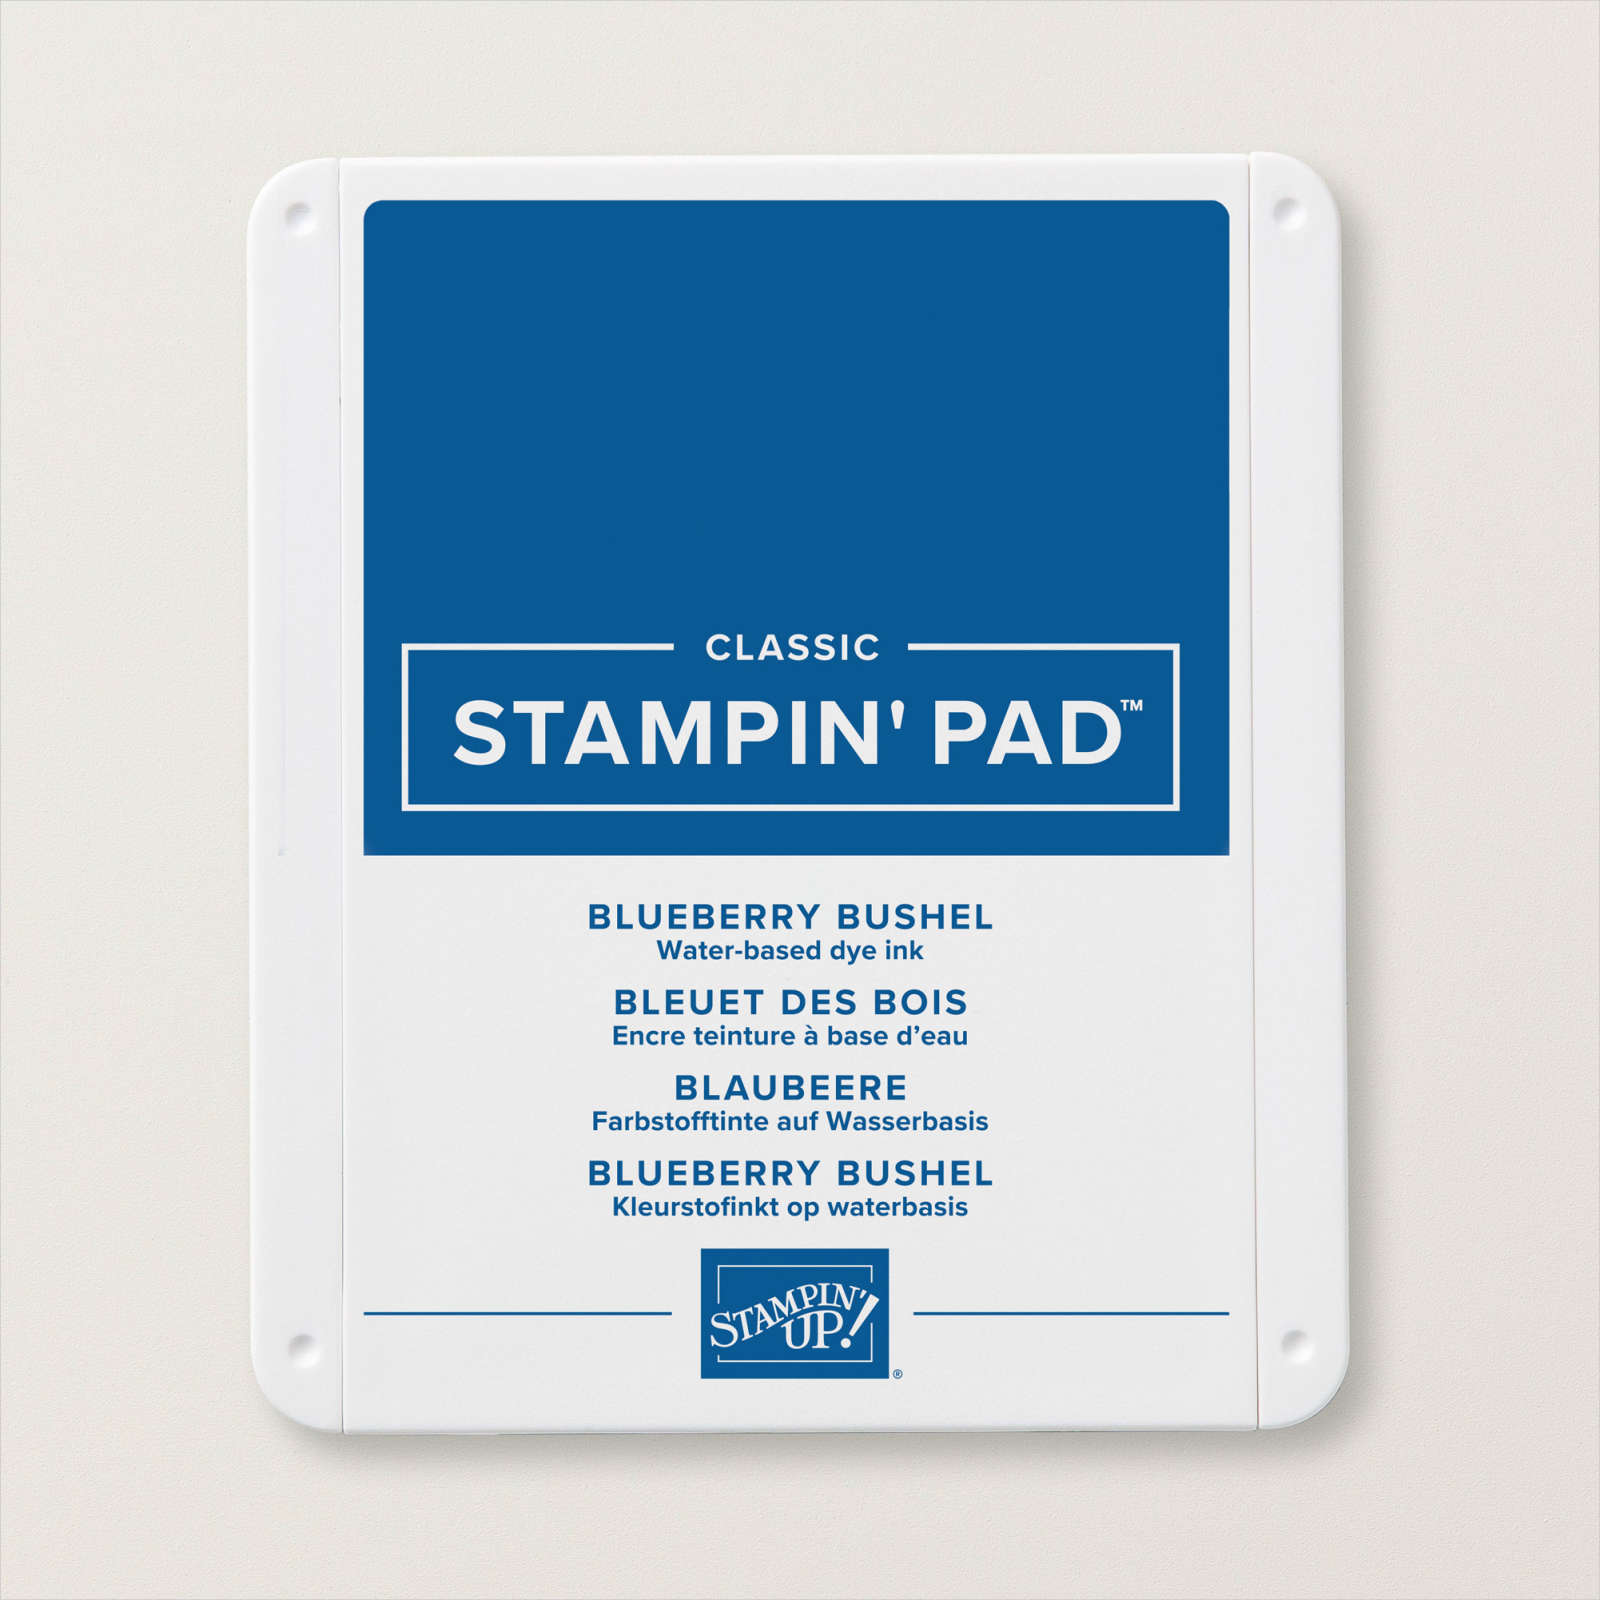
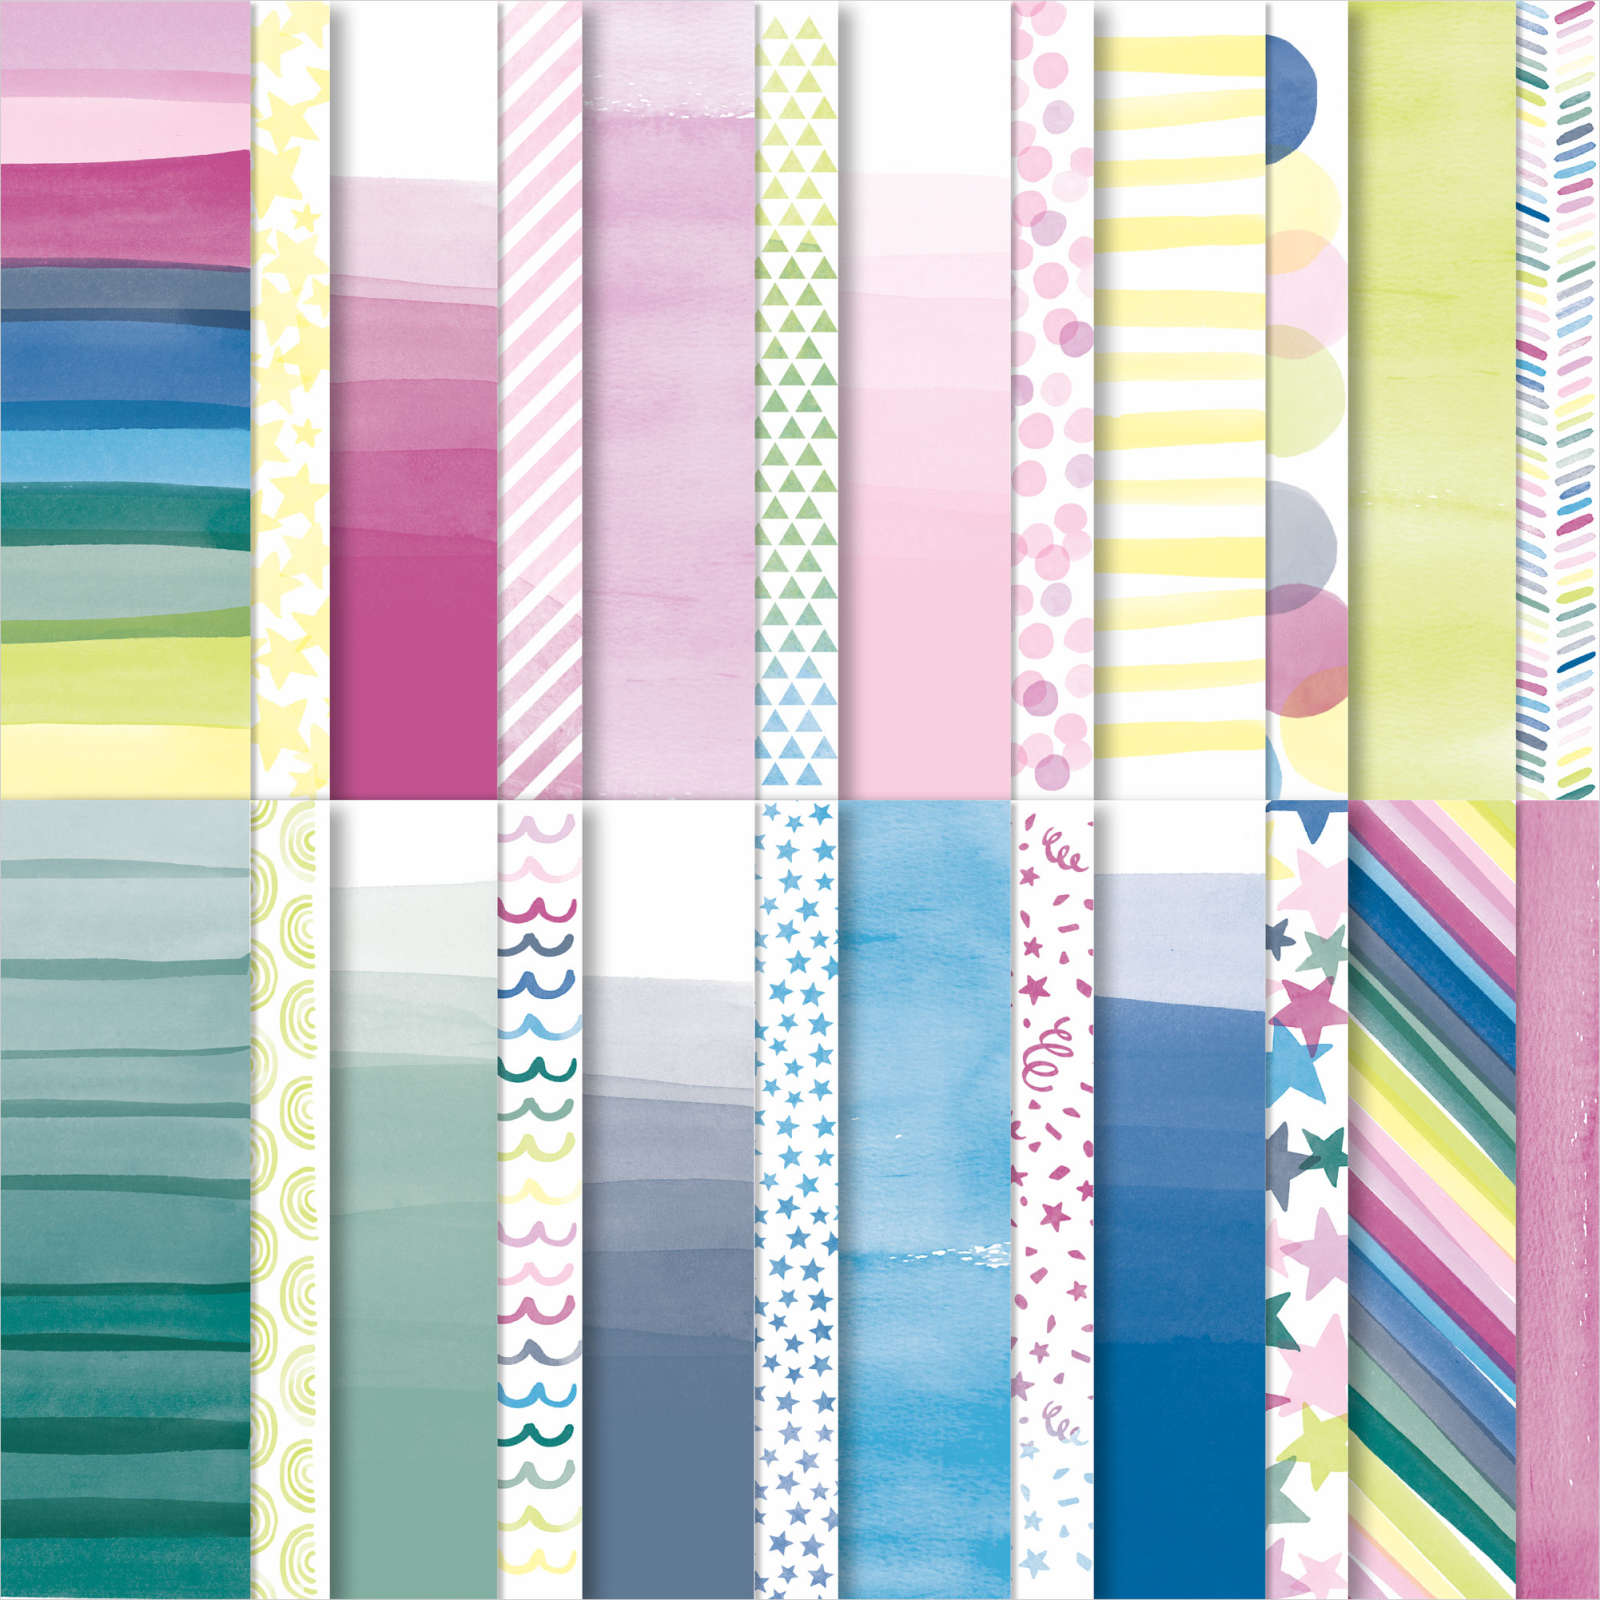
Today’s card uses the Happy Little Things stamp set which is an Online Exclusive product. I cut pieces of Bright & Beautiful Designer Series Paper which I attached to Basic White card. Did you know that the Bright & Beautiful 6″ x 6″ Designer Series Paper has carried over to our new Annual Catalogue – great for people like me who haven’t used as much of their paper as they should! The Designer Series Paper Panel is attached to Blueberry Bushel card and then scored and folded Thick Basic White card.

I stamped the outline “celebrate” image from the Happy Little Things stamp set onto Basic White card using Blueberry Bushel ink. I stamped the fill image from the same stampset inside the outline using Blueberry Bushel ink which I stamped onto scrap paper first.

The stamped panel is attached to Blueberry Bushel card and then the card front using dimensionals. To decorate the inside of the card I stamped “you did it” from the Happy Little Things stamp set onto Basic White card using Blueberry Bushel ink. I stamped the star image from the same stamp set three times around the greeting using the same ink. The stamped panel is attached to Blueberry Bushel card before being attaching inside the card base. One thing I need to point out is that I used one of the card sketch layouts on page 22 of the new Annual Catalogue for the design of this card. If you haven’t had a look at this page, check it out. So helpful. Thank you Stampin’ Up!.
Bye for now,
Kris
Product Used:


Cowra

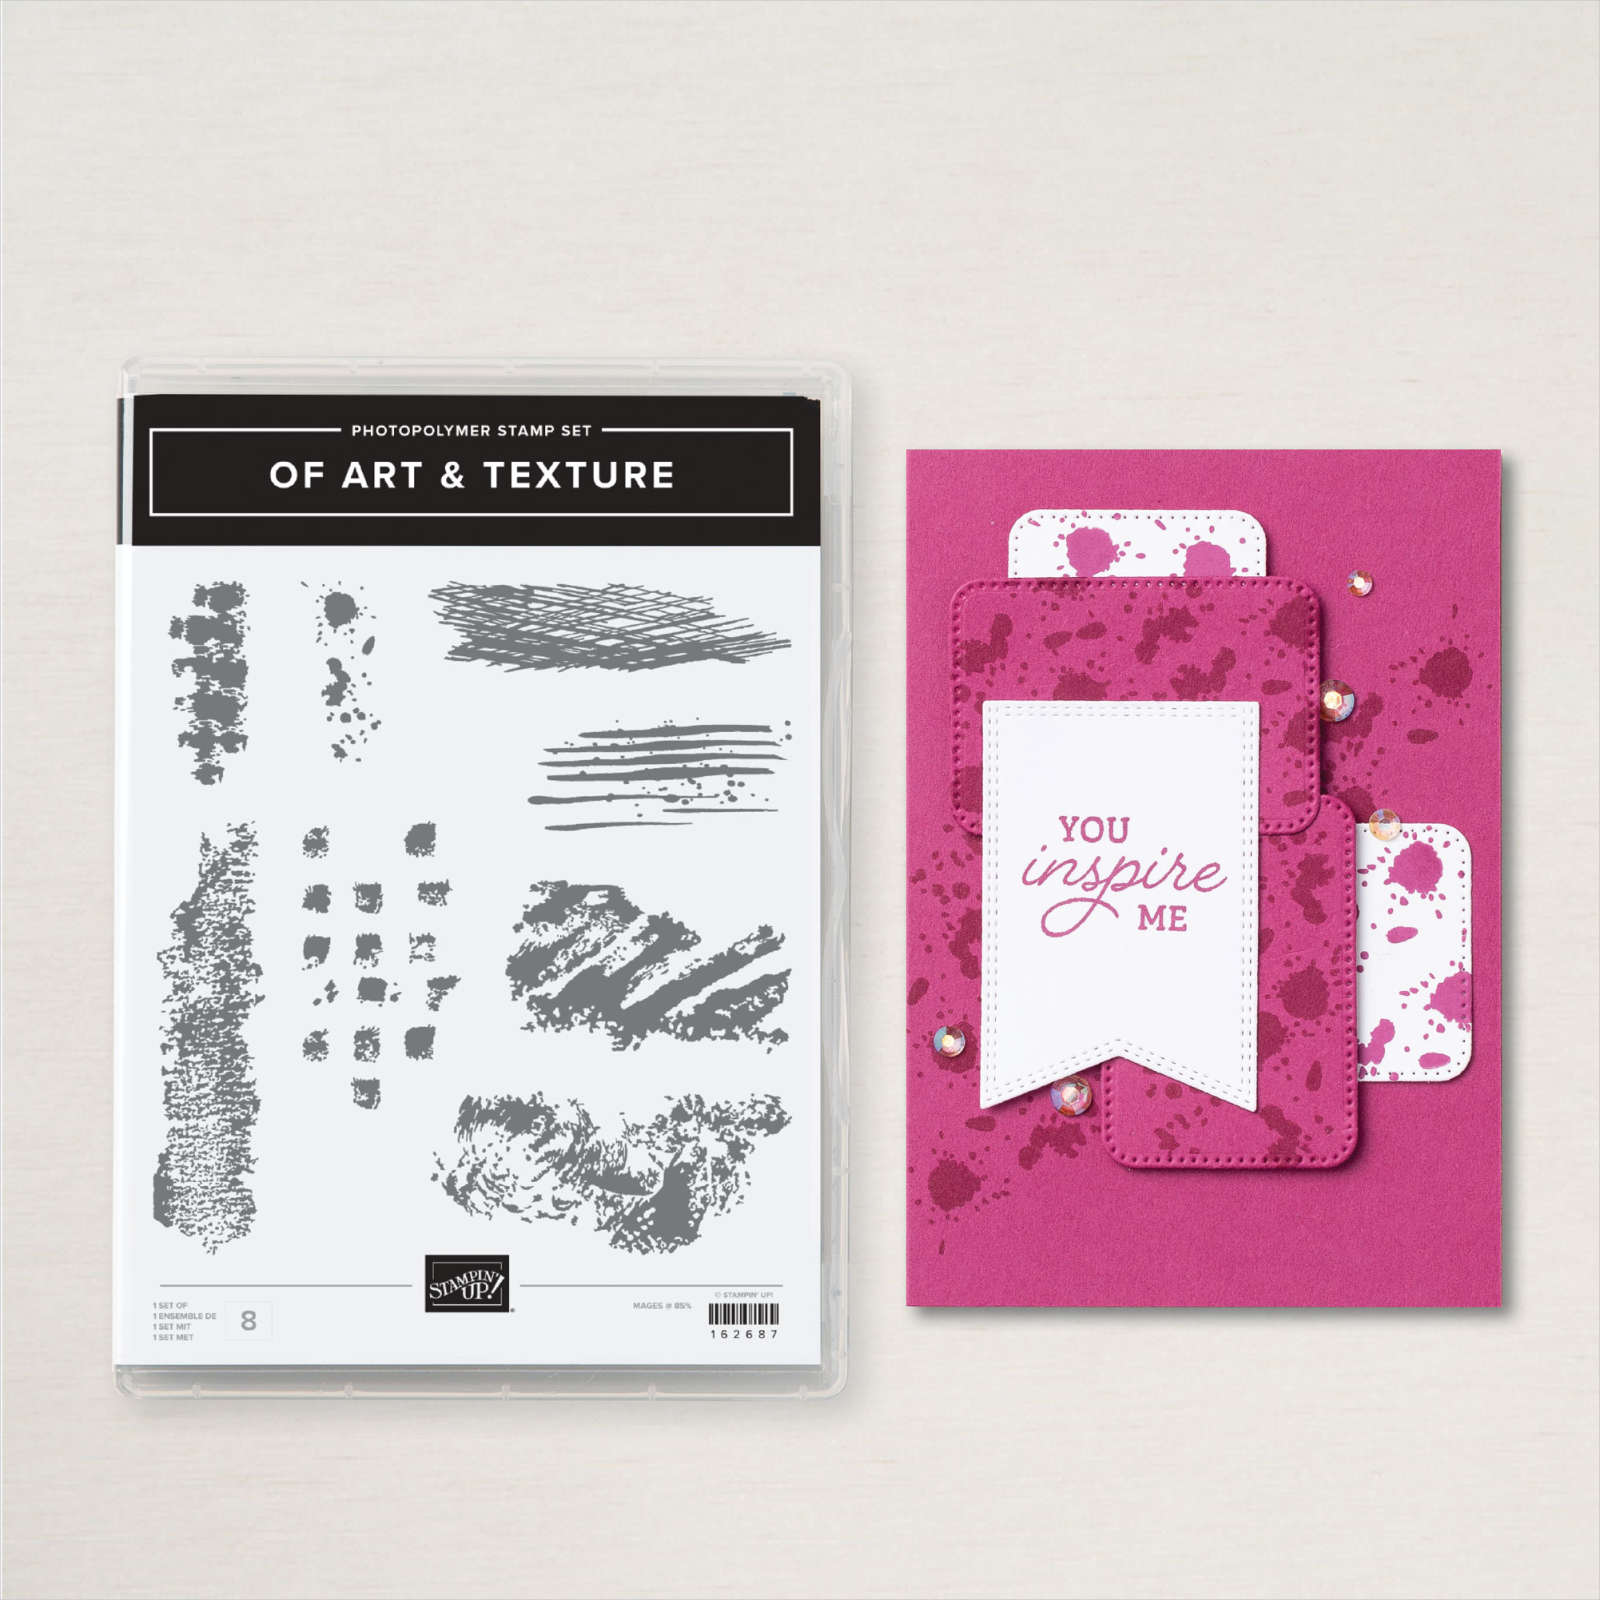
We had a couple of days at Cowra as our first stop on a road trip with our friends. What a lovely town, with lots to see and do. Our first visit was the site of the Prisoner of War camp which is where the Japanese prisoners attempted escape in 1944 and this page shows a couple of photos of the visit. I used Soft Sea Foam 12″ x 12″ card as the base for my page.

I used one of the stamps from the Of Art & Texture stamp set to stamp all over the Soft Sea Foam card using Soft Sea Foam ink. I added a piece of Basic White card and then my photos. I printed my journaling onto Basic White card which I attached to Basic Black card before adding it to the page. I cut the title from Basic Black card using the Alphabet A La Mode Dies. I am so glad that we visited this site to understand the background to what happened.
Bye for now,
Kris
Product Used:


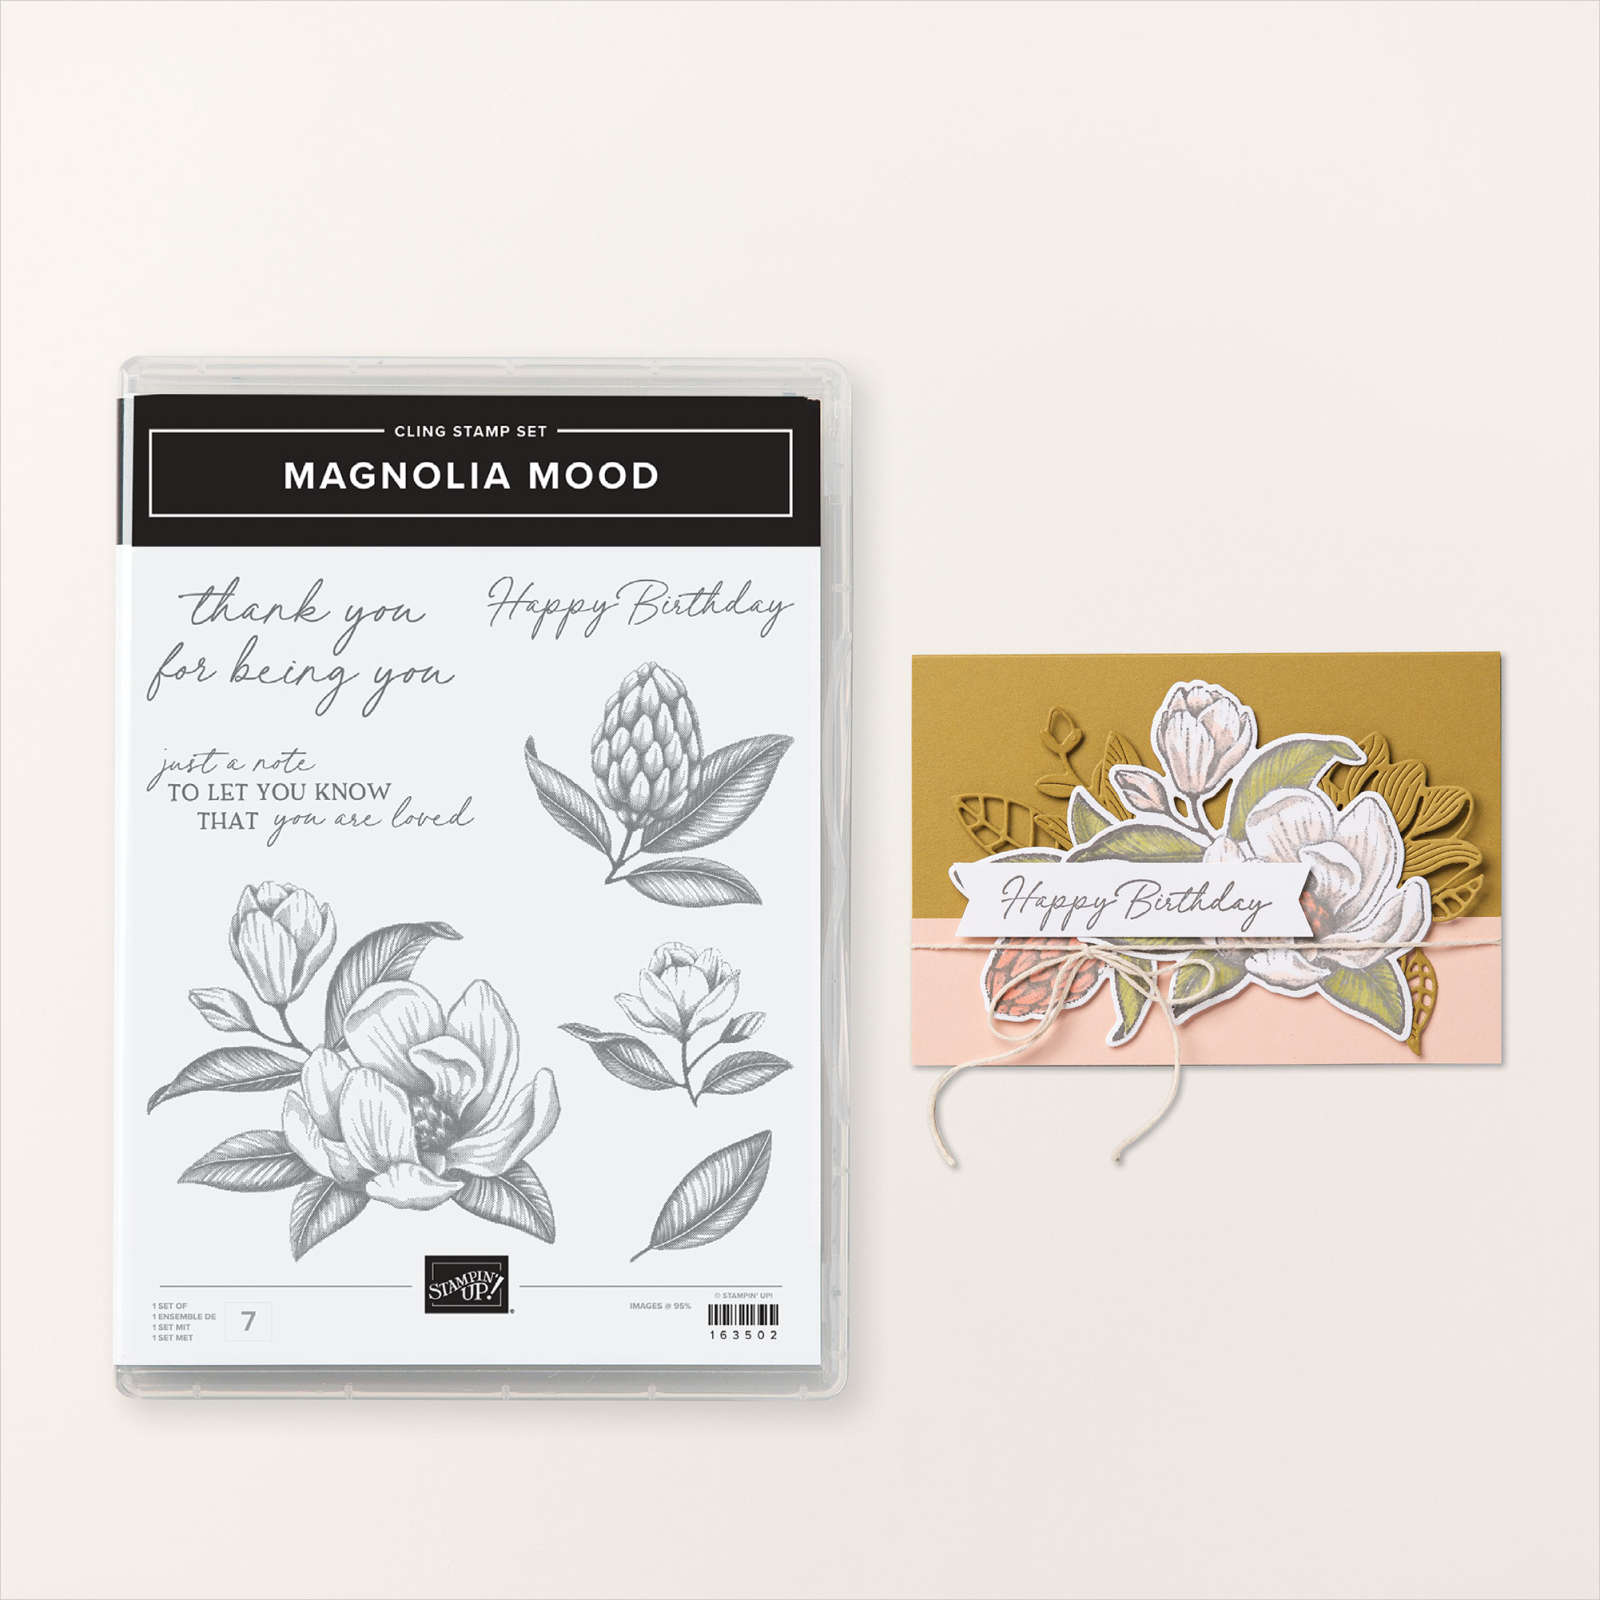
Layered Magnolia

Today’s card features the Magnolia Mood Stamp Set, which you can only find in the Online Exclusives, you can view them here in my store. For this card, I stamped the large flower from the Magnolia Mood stamp set several times onto Basic White card using Memento Tuxedo Black ink. I coloured the leaves using the Dark Soft Sea Foam Stampin’ Blend. I used one of the Deckled Rectangle Dies to cut the centre from the stamped card. I also cut Soft Sea Foam card using the next larger rectangle from the Deckled Rectangle Dies.

I attached the two rectangles together and then attached them to the stamped Basic White card, lining up the images. The whole panel is attached to scored and folded Soft Sea Foam card. I stamped the small flower from the Magnolia Mood stamp set onto Basic White card using Memento Tuxedo Black ink. The image is coloured using the Dark Soft Sea Foam and Light Bubble Bath Stampin’ Blends.

I cut out the flower using one of the Deckled Circle Dies and attached it to a Soft Sea Foam circle cut using the same dies. The image panel is attached to the centre of the card front using dimensionals. I stamped the greeting from the Magnolia Mood stamp set onto Basic White card using Memento Tuxedo Black ink and fussy cut around the greeting before attaching it to the card front. To decorate the inside of the card, I stamped the small flower from the Magnolia Mood stamp set onto the lower left hand corner using Memento Tuxedo Black ink. I coloured the image using the Dark Soft Sea Foam and Light Bubble Bath Stampin’ Blends. I love how soft and pretty this card is, don’t you?
Bye for now,
Kris
Product Used:


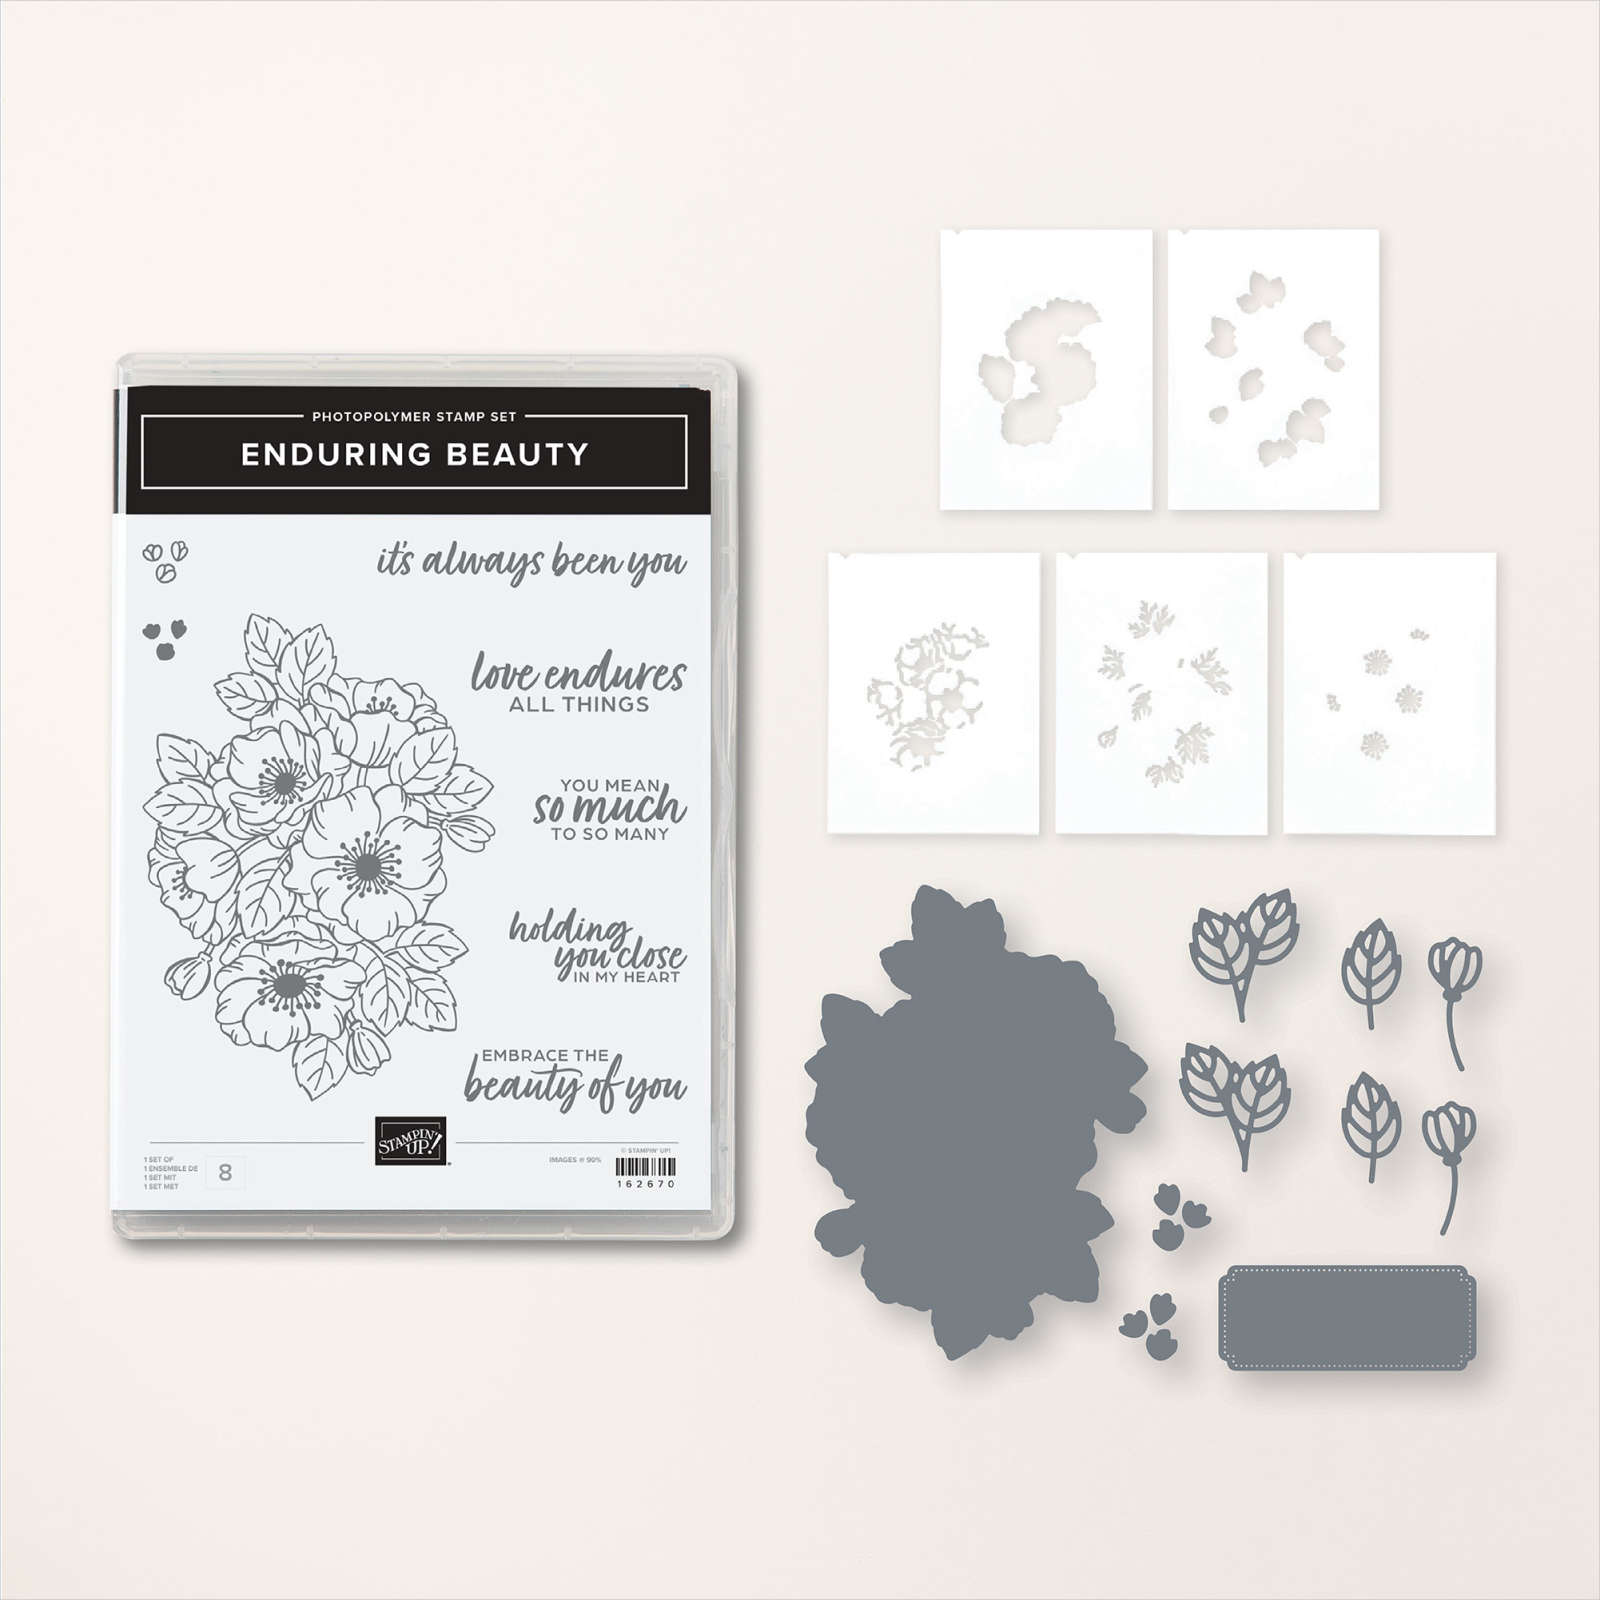
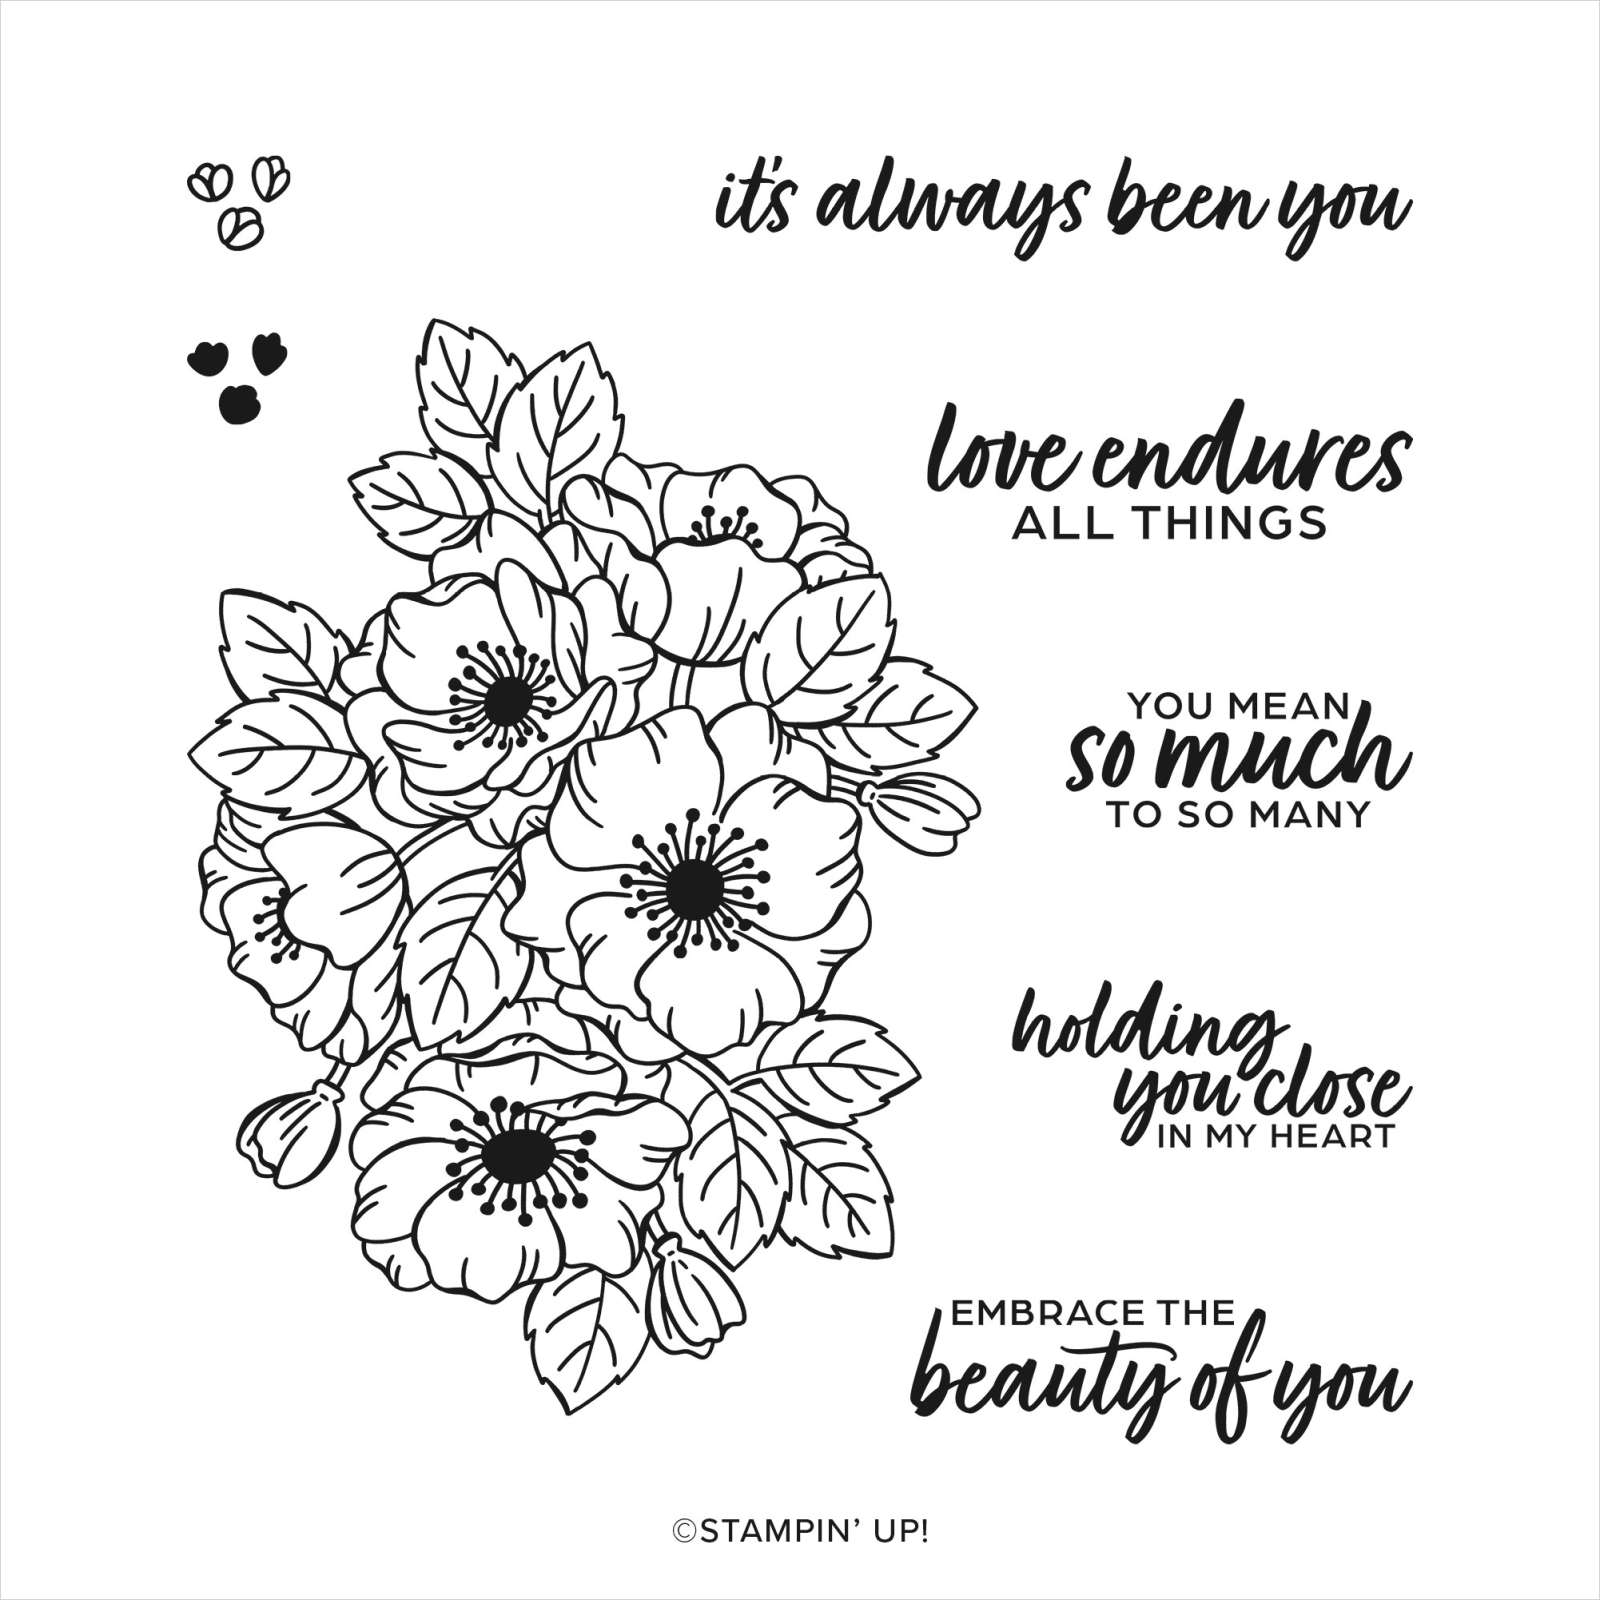
You Mean So Much

Today I have another card to share with you using the Enduring Beauty Bundle. For this card I used my Stampin’ Brayer to add Lost Lagoon ink to a piece of Zoo Crew 12″ x 12″ Designer Series Paper (this paper is now retired). I attached the Designer Series Paper to Basic White card and then scored and folded Highland Heather card. I cut Highland Heather card using one of the circles from the Deckled Circle Dies and attached it to the card front using dimensionals. I stamped the large floral image from the Enduring Beauty stamp set onto Fluid 100 Watercolor Paper using Versamark ink.

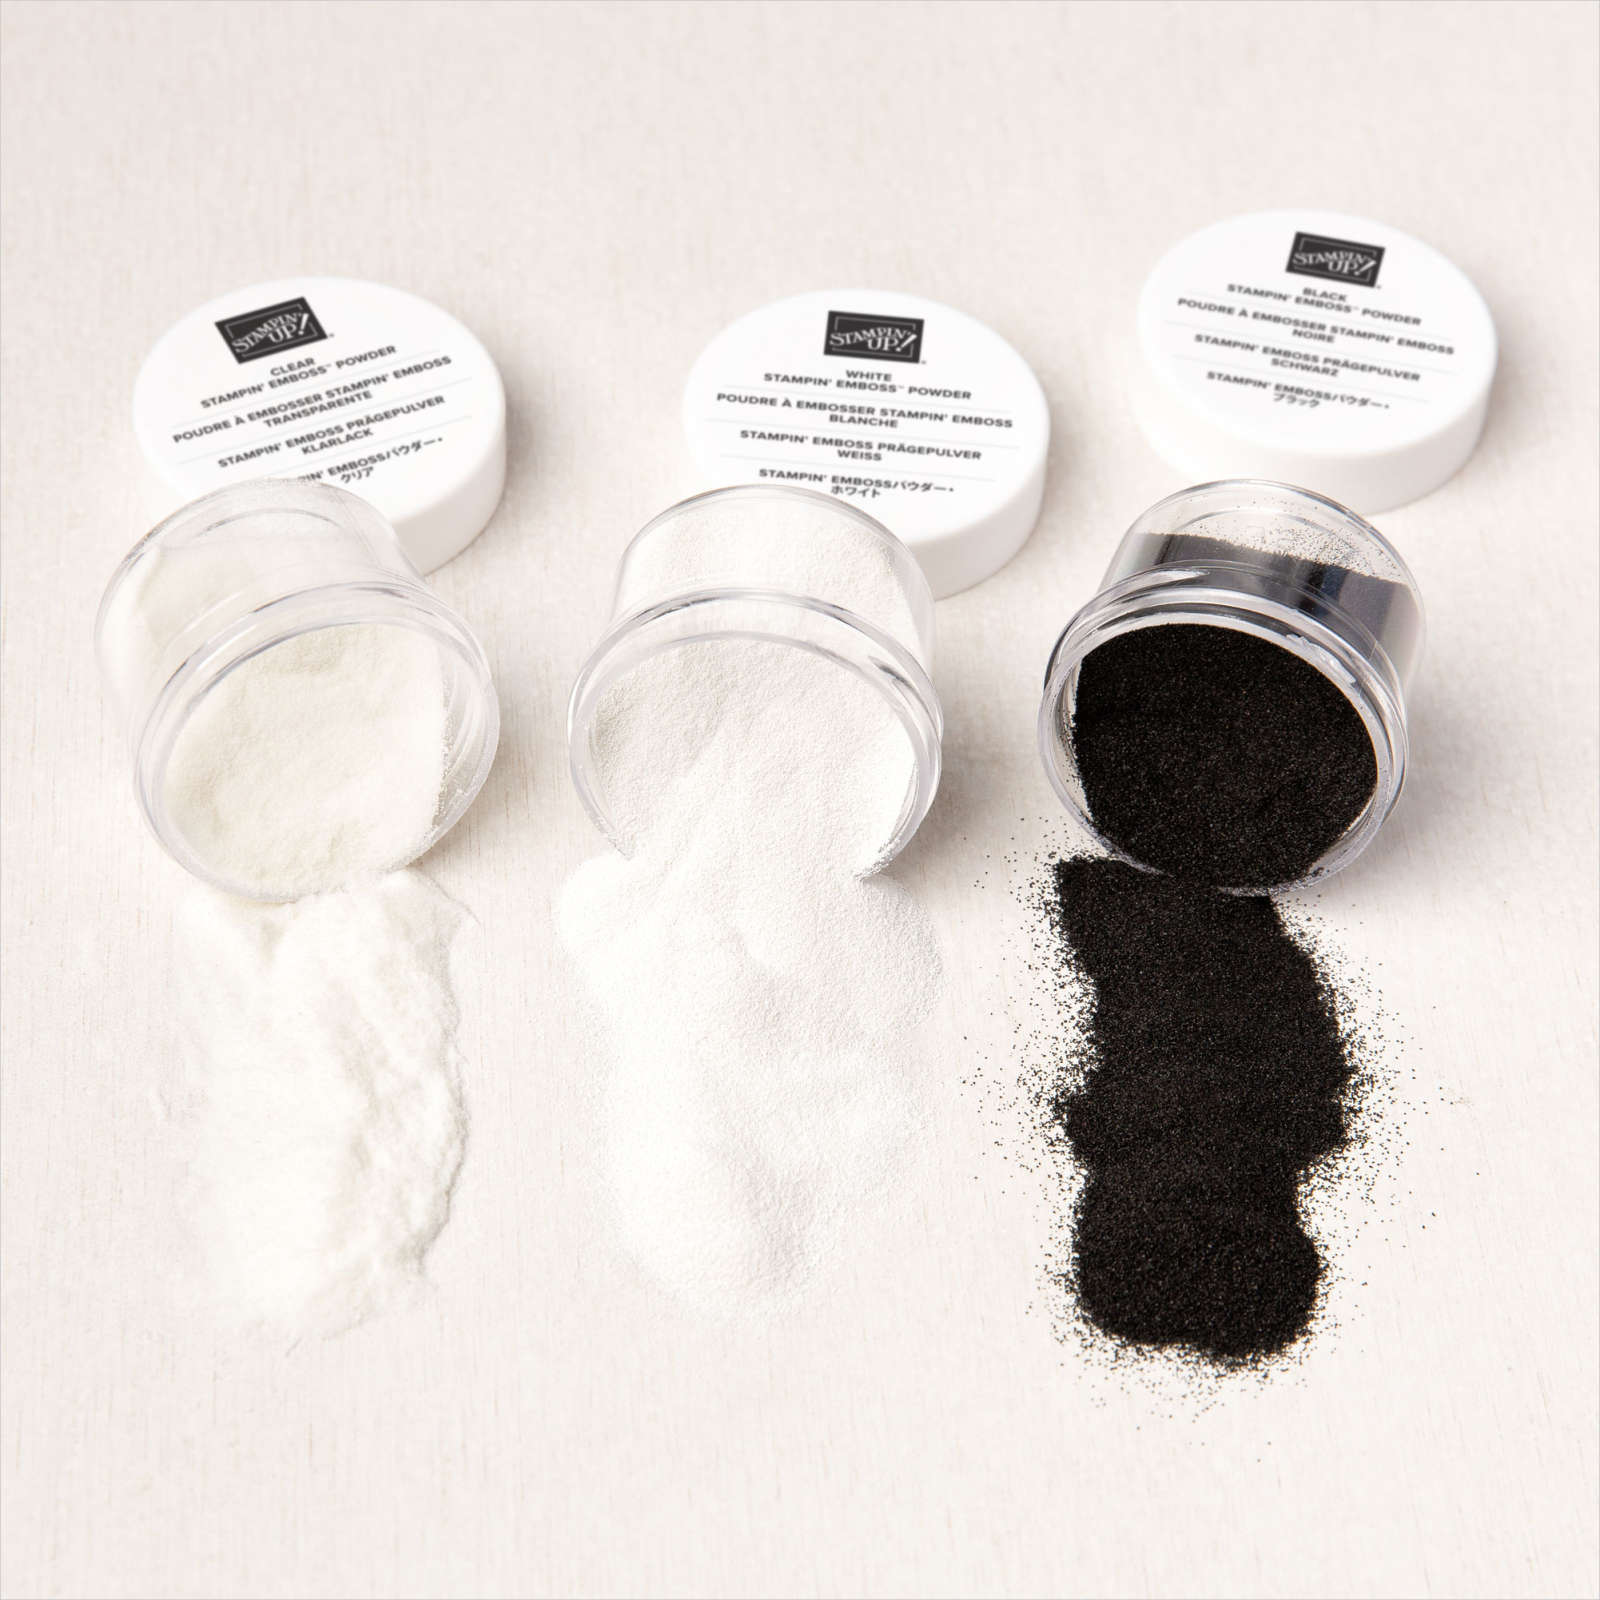
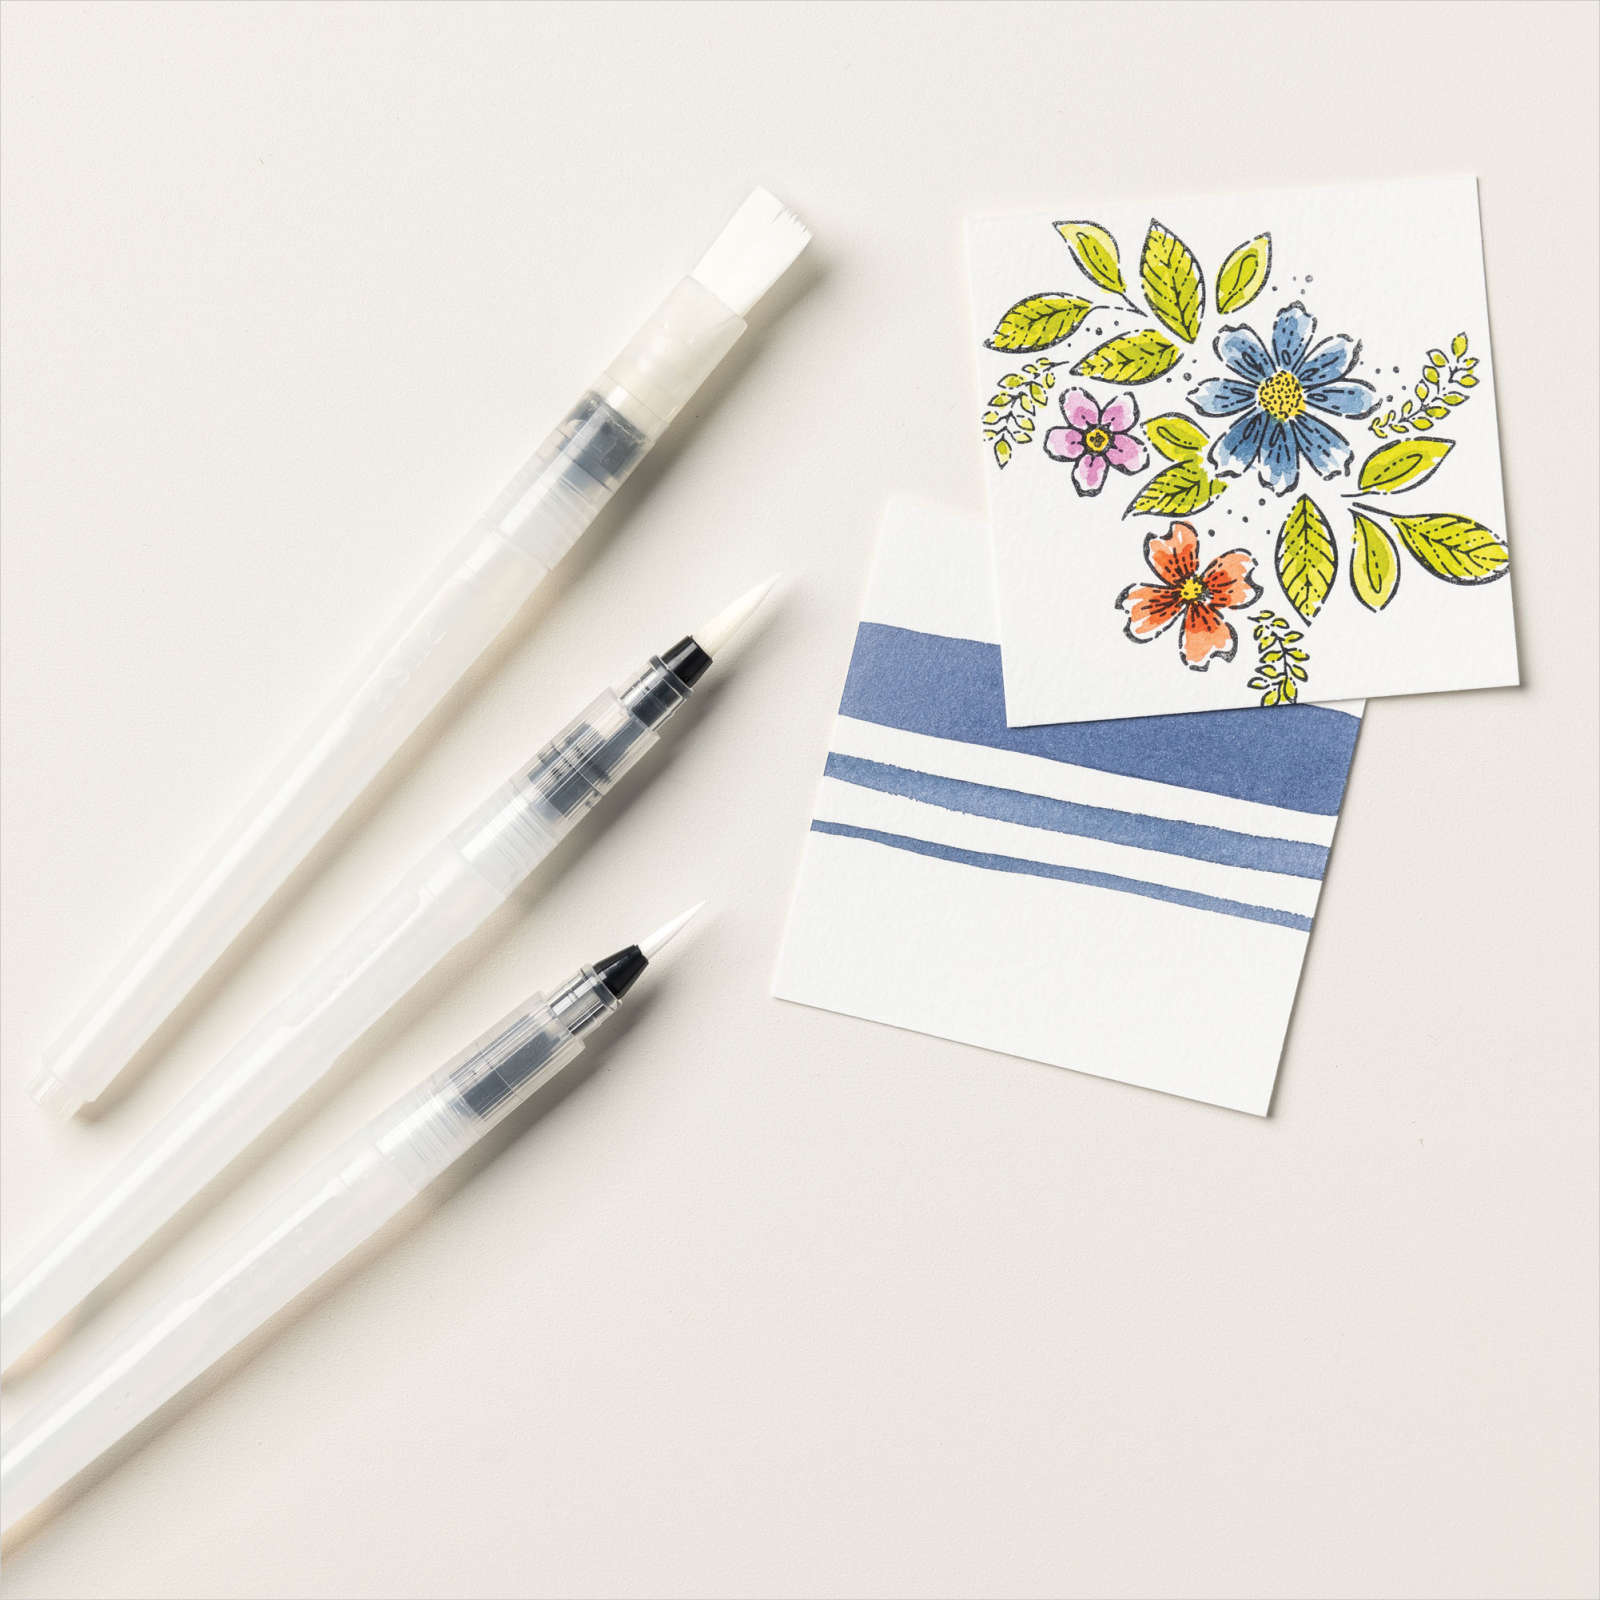
I sprinkled the image with White Embossing Powder and heat set it. I sprayed the stamped image with water and then used a Water Painter to add Highland Heather ink to the flowers and Lost Lagoon ink to the leaves. I cut out the image using the co-ordinating Enduring Beauty Die.

The image is attached across the die cut circle using dimensionals where necessary. I stamped the greeting from the Enduring Beauty stamp set onto Basic White card using Highland Heather ink. I cut out the greeting using the banner die from the Enduring Beauty Dies. I did however cut the greeting twice so that the banner fit more tightly around the words. The greeting is attached to the card front using dimensionals. To decorate the inside of the card, I added Lost Lagoon ink to a piece of Zoo Crew Designer Series Paper using the Stampin’ Brayer. I attached the Designer Series Paper across the bottom of a piece of Basic White card before attaching the panel to the inside of the card base. Although the layout is the same as one I used in my Facebook Live (way back on the 17th January) with this bundle, the look is completely different. I hope you are loving this bundle as much as I am.
Bye for now,
Kris
Product Used:


Melbourne Cup
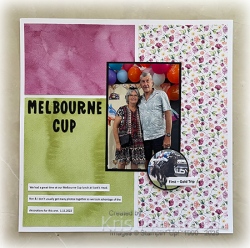
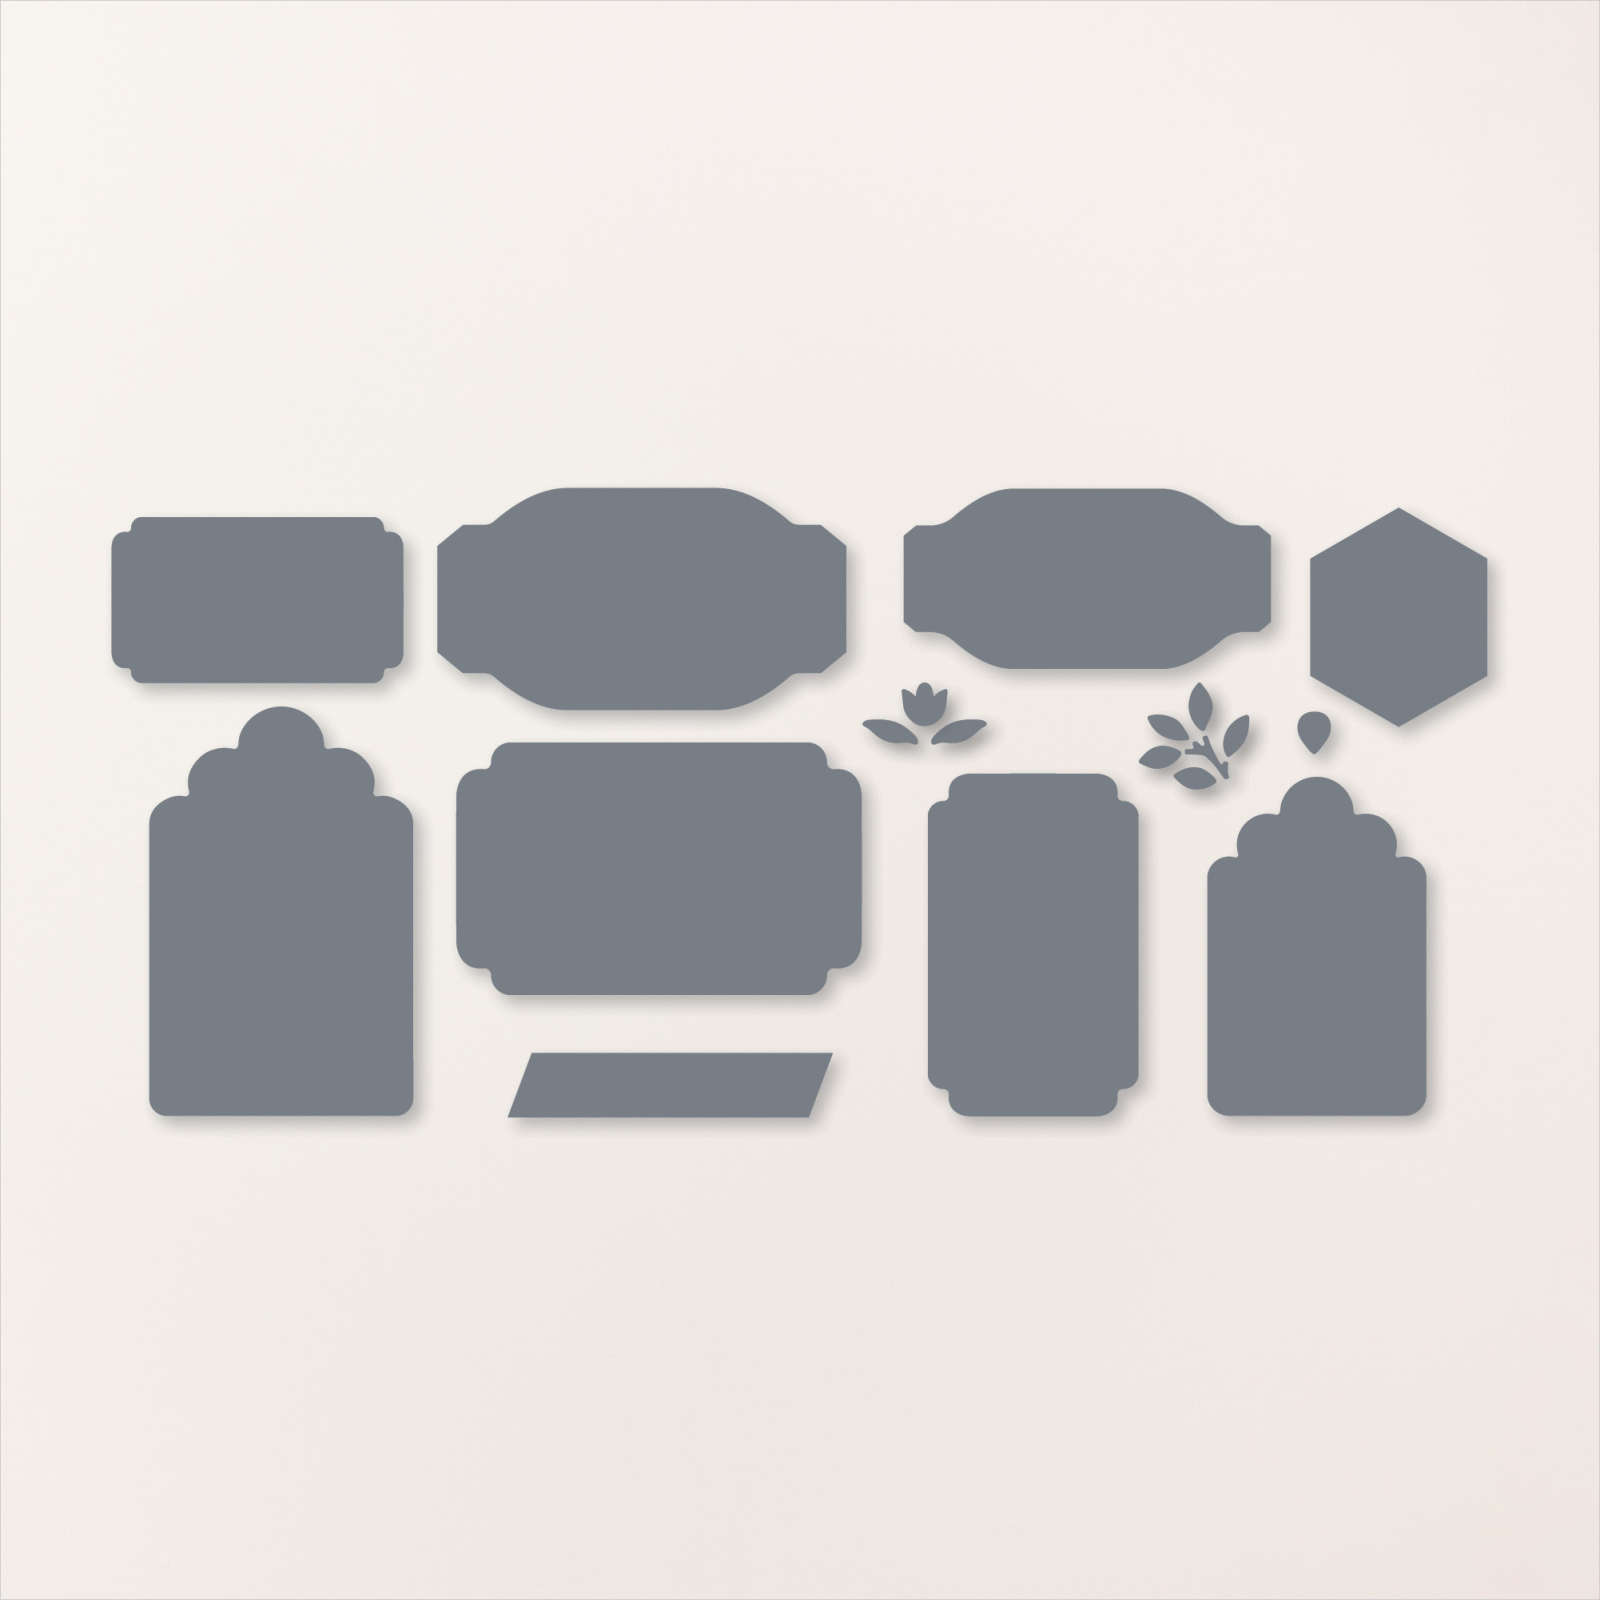
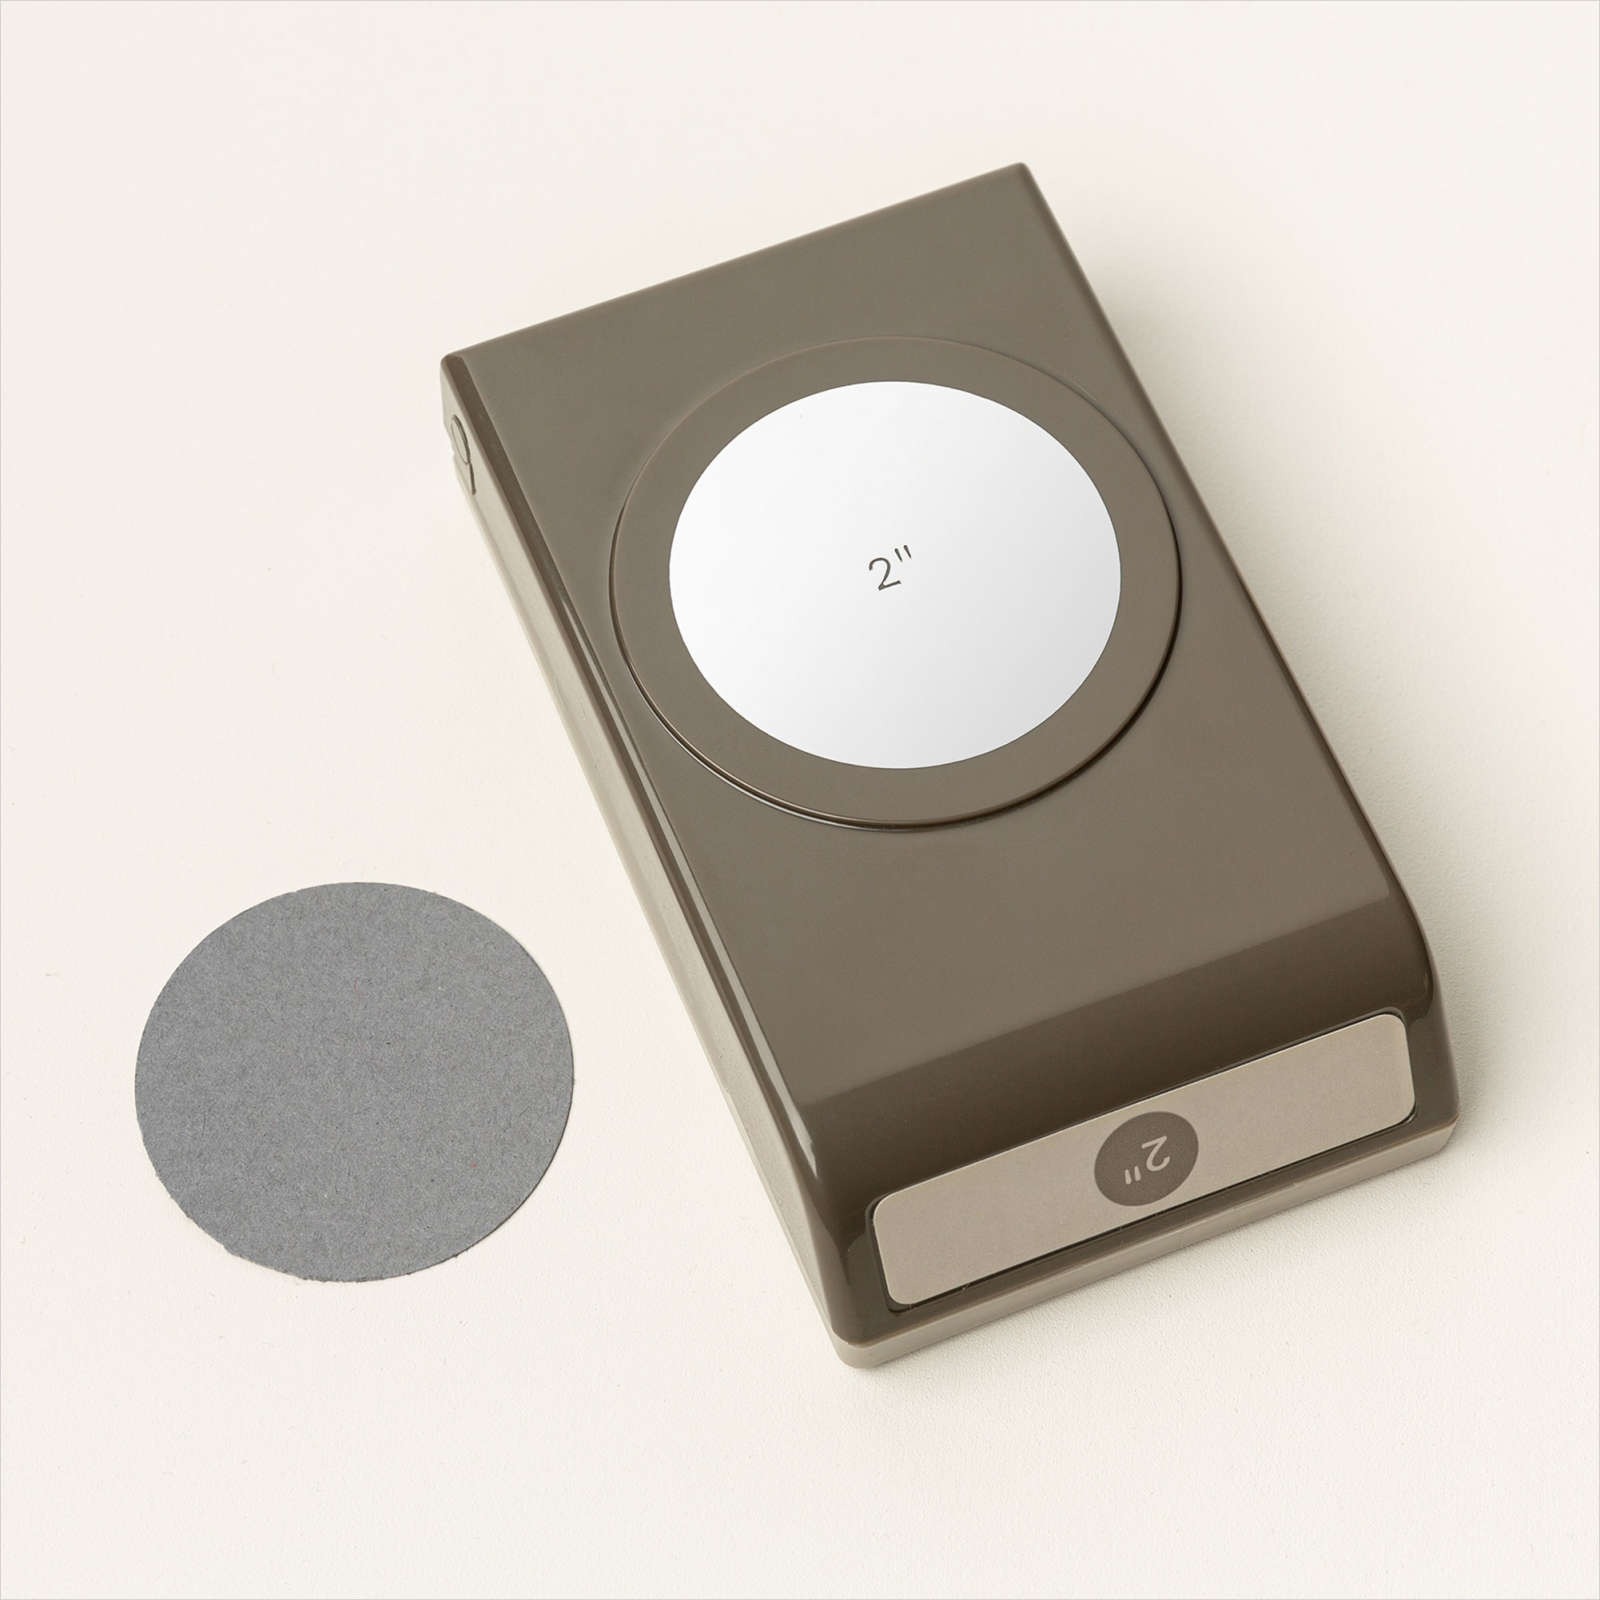
2022. Ron and I don’t get many photos together so we took advantage of the great backdrop to get a photo of us together while we were out to lunch. I attached pieces of the Delightful Floral 12″ x 12″ Designer Series Paper to a Basic White 12″ x 12″ page. I attached my photo to Basic Black card before attaching it to the page. I cut my title from Basic Black using the Mini Alphabet Die and attached it beside the photo. I printed my journaling onto Basic White card, cut it into strips and attached it to the lower left hand corner. I found a photo of the winning horse and printed it onto Basic White card. I used a 2″ Circle Punch to punch out the image and attached it to a 2-3/8″ Circle punched from Basic Black card. I printed the horse’s name onto Basic White card and cut it out using one of the Something Fancy Dies. The photo of the horse and the banner are attached over the bottom corner of the photo using dimensionals. I love the fact that this paper is an Online Exclusive and doesn’t necessarily retire when other products do.
Bye for now,
Kris
Product Used:


Join Stampin’ Up!
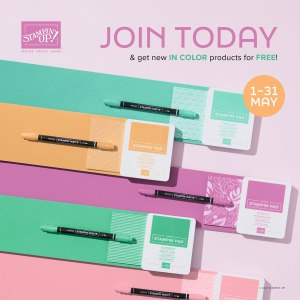
If you have ever thought about joining Stampin’ Up! then May might just be the time to do it. As well as getting $235.00 worth of current product of your choice for the low price of $169.00, you will also receive the new 2024-2026 in colour product for free. So in addition you will receive the in colour 6″ x 6″ Designer Series Paper, a pack of A4 card with 2 sheets in each of the 5 new in-colours, ink pads in each of the 5 new in colours and Stampin’ Write Markers also in the 5 new in-colours. That’s $144.00 worth of free product in addition to the $66.00 worth of free product you can choose in your starter kit. This deal is awesome and not only do you get great product, you also become part of the Stampin’ Up! family. Make sure that you sign up between the 1st and 31st of May so that you can take advantage of this amazing deal. You can contact me if you want more information or you can simply go to my site and join up.
Happy Shopping.
Bye for now,
Kris
Product Used:
Moonlight Birthday
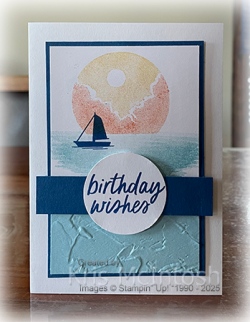
Today’s card uses the Under the Moon stamp set which is going to be released in the new Catalogue in May. I also used this stamp set in my Facebook Live yesterday, so if you want some more inspiration for this stamp set take a look. For this card, I inked the moon image from the Under the Moon stamp set using a sponge dauber with Daffodil Delight and Pumpkin Pie ink. I stamped the image onto the top edge of a piece of Basic White card. I stamped the sea image from the Under the Moon stamp set below the moon using Balmy Blue ink.
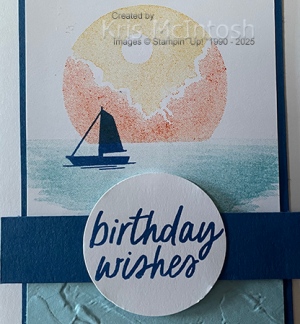
I also stamped the boat image from the Under the Moon stamp set partially over the sea and moon images using Blueberry Bushel ink. I attached the stamped panel to the top section of Blueberry Bushel card. I embossed a panel of Balmy Blue card using the Painted Texture 3D Embossing Folder and attached it below the stamped panel.
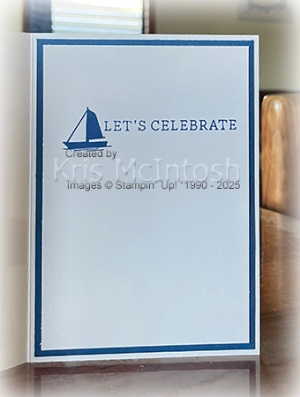
I attached the panel to the front of scored and folded Thick Basic White card. I attached a narrow strip of Blueberry Bushel card across the card front using dimensionals so that it covered where the stamped and embossed card meet. I stamped “birthday wishes” from the Simply Said stamp set onto Basic White card using Blueberry Bushel ink and punched it out using the 1-3/4″ Circle Punch. The greeting is attached to the card front using dimensionals where necessary. To decorate the inside of the card, I stamped another greeting from the Simply Said stamp set onto Basic White card using Blueberry Bushel ink. I also stamped the boat image from the Under the Moon stamp set beside the greeting using Blueberry Bushel ink. The stamped card is attached to Blueberry Bushel and then to the inside of the card base. This is such a lovely stamp set, one of many in the new catalogue.
Bye for now,
Kris
Product Used:


Floral Birthday
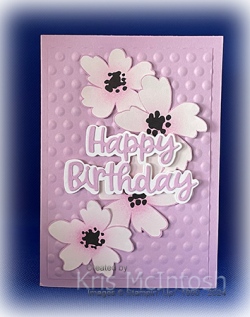
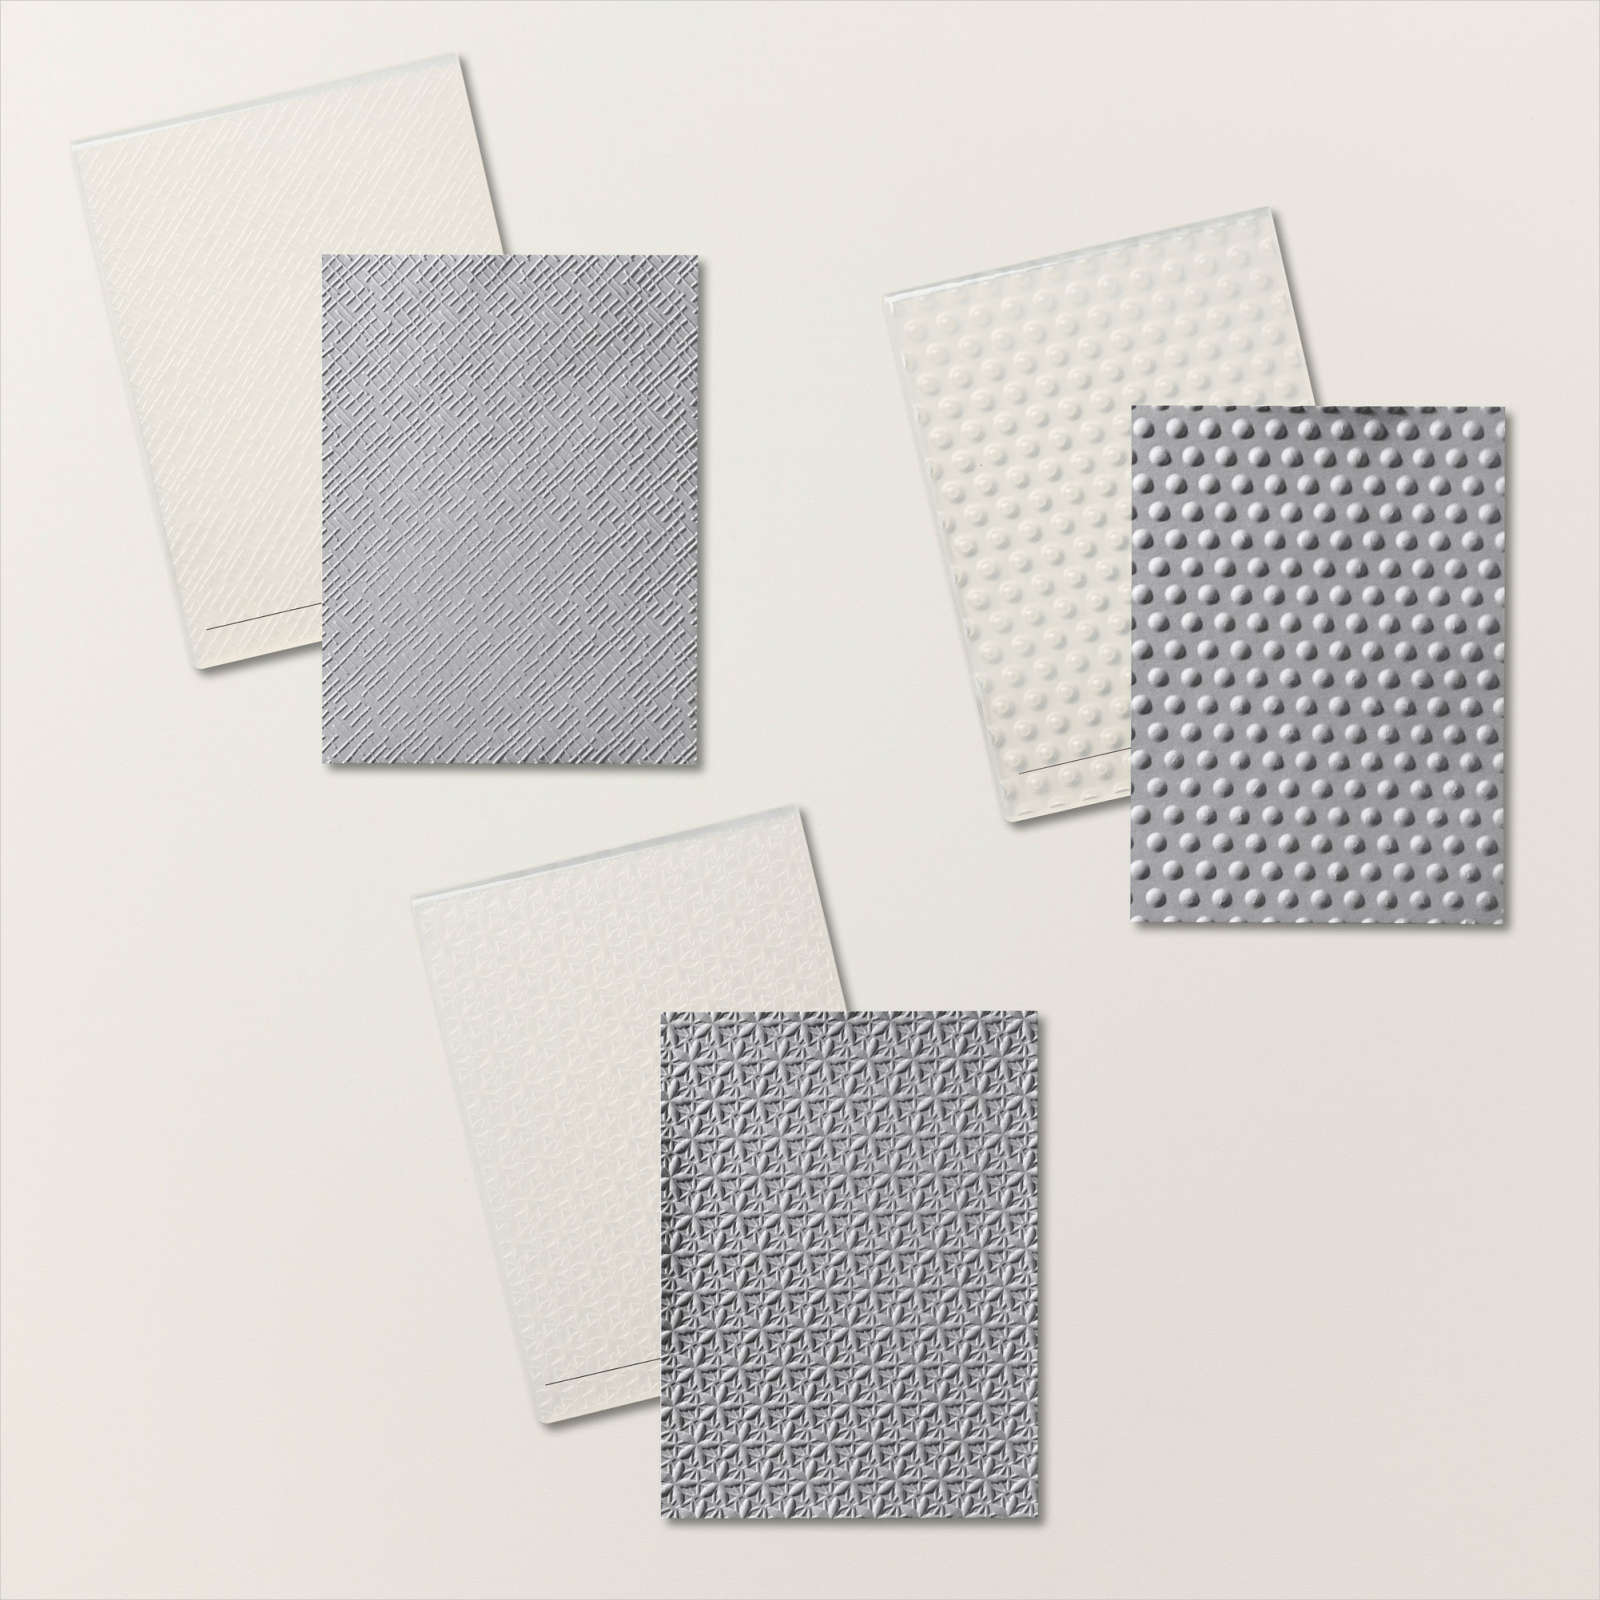
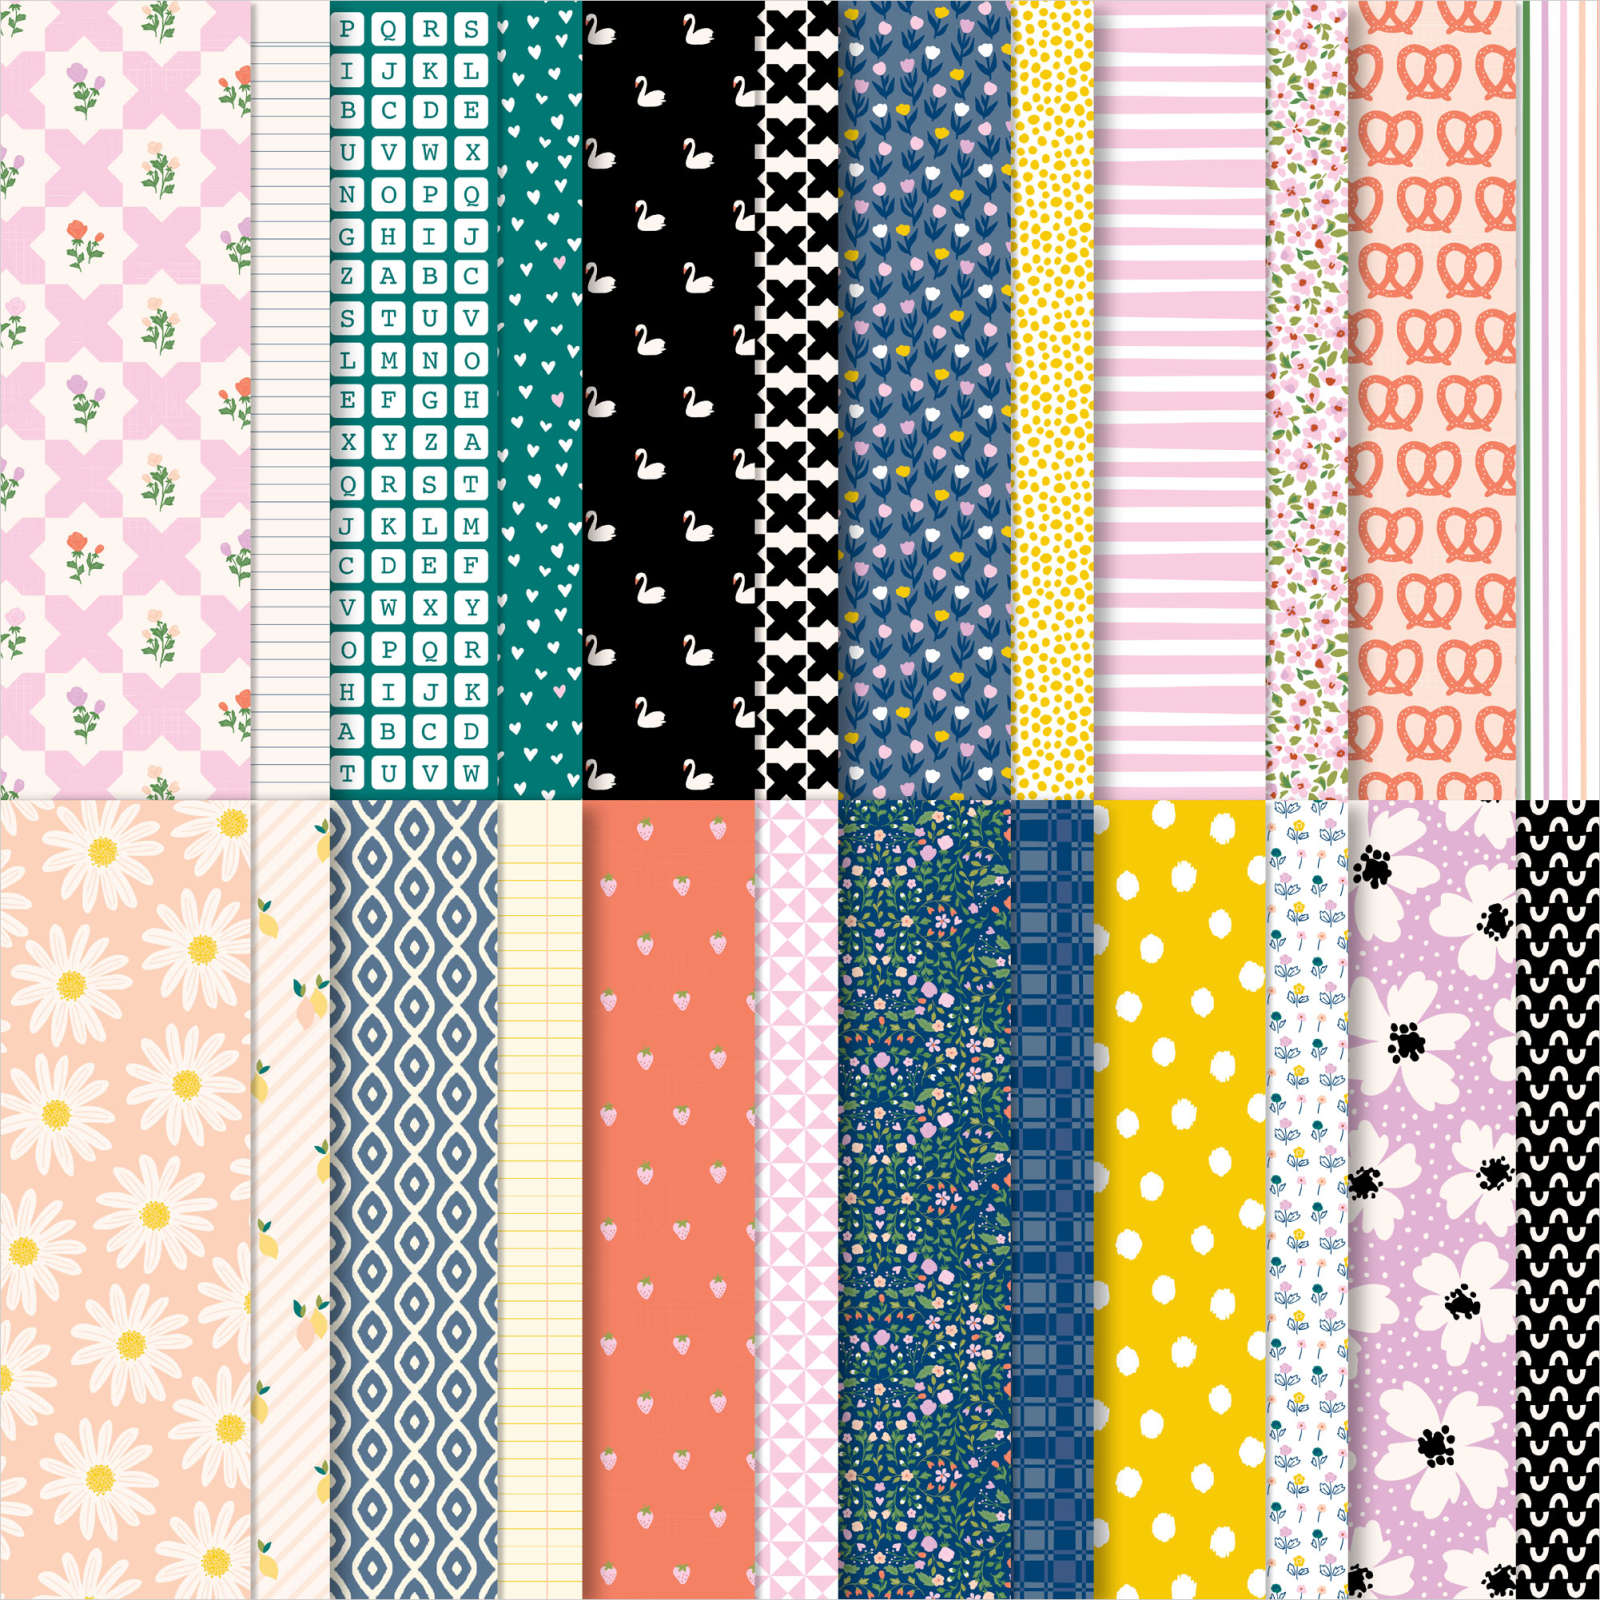
Each week as a Demonstrator I receive an email from Stampin’ Up! with information on upcoming specials, new catalogues, inspiration and they usually have a project or two to share. My card today is inspired by one of the projects shared by Stampin’ Up!. I embossed a piece of Fresh Freesia card using the polka dot folder from the Basics 3D Embossing Folders which I attached to scored and folded Fresh Freesia card. I cut the flowers from one of the patterns of paper in the Delightfully Eclectic 12″ x 12″ Designer Series Paper.
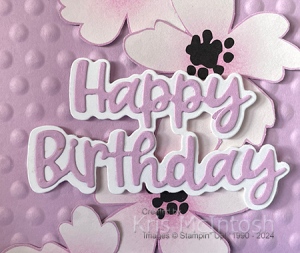
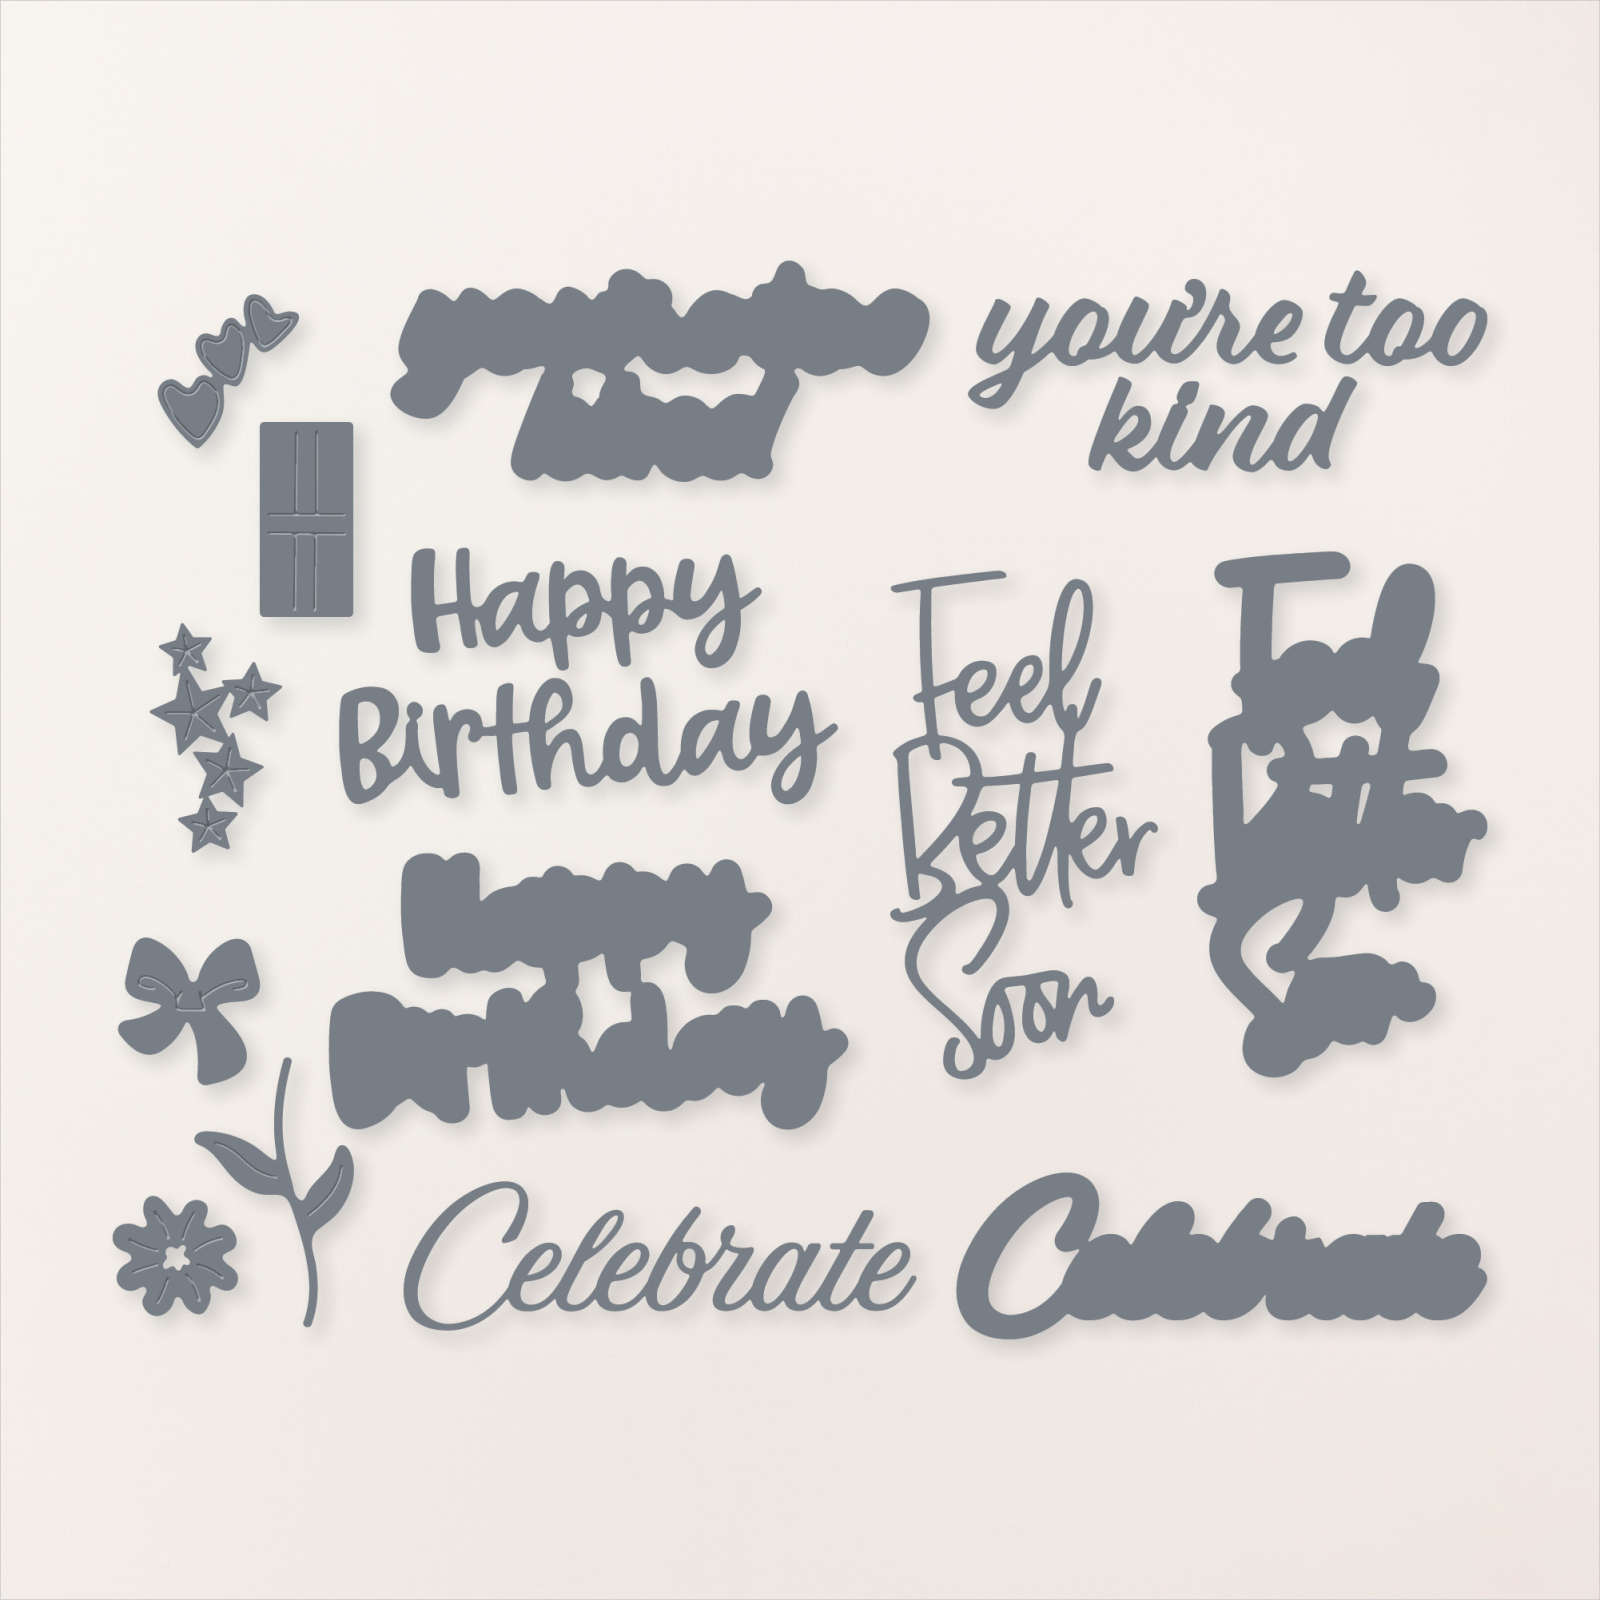
I used a small Blending Brush to add a little Fresh Freesia ink to the flowers before attaching four to the embossed panel. I cut Basic White card using the solid happy birthday die from the Wanted to Say Dies and Fresh Freesia card using the detailed happy birthday die.

I attached the dies together before attaching the greeting to the card front using dimensionals. To decorate the inside of the card, I stamped a greeting from the Very Best Occasions stamp set onto Basic White card using Fresh Freesia ink. I cut another flower from the Delightfully Eclectic Designer Series Paper, used the small Blending Brush to add some Fresh Freesia ink and attached it next to the greeting. I absolutely love this card. So, thank you Stampin’ Up! for the inspiration.
Bye for now,
Kris
Product Used: